
Key Takeaways
- Understanding Green Screens: A green screen, or chroma key, allows creators to replace a vibrant green backdrop with customized digital backgrounds, enhancing video quality and engagement.
- Benefits of Using a Green Screen: It is cost-effective, offers creative control, provides flexibility in editing, enhances viewer engagement, and conveys a professional appearance to your content.
- Setting Up Your Green Screen: Proper setup involves choosing a uniform green backdrop and ensuring consistent, diffused lighting to avoid shadows, enhancing the keying process.
- Essential Techniques: Keying techniques include maintaining a smooth backdrop, using green over blue for better results, and ensuring proper lighting for both the subject and background.
- Editing Software Options: Popular editing tools for green screen footage include Adobe Premiere Pro, Final Cut Pro, Camtasia, and iMovie, each catering to different skill levels and needs.
- Effective Editing Process: Follow a step-by-step editing process that includes removing the green background, adding new visuals, adjusting lighting and sound, and exporting in high definition for professional results.
Imagine transforming your videos with stunning backgrounds that captivate your audience. A green screen can make that happen, allowing you to create professional-looking content from the comfort of your home. Whether you’re a budding filmmaker or a content creator looking to spice up your videos, mastering the green screen technique is a game-changer.
Understanding Green Screens
Using a green screen can elevate your video content, helping you create visually captivating backgrounds. This technique proves beneficial for small business owners looking to enhance their marketing and branding efforts.
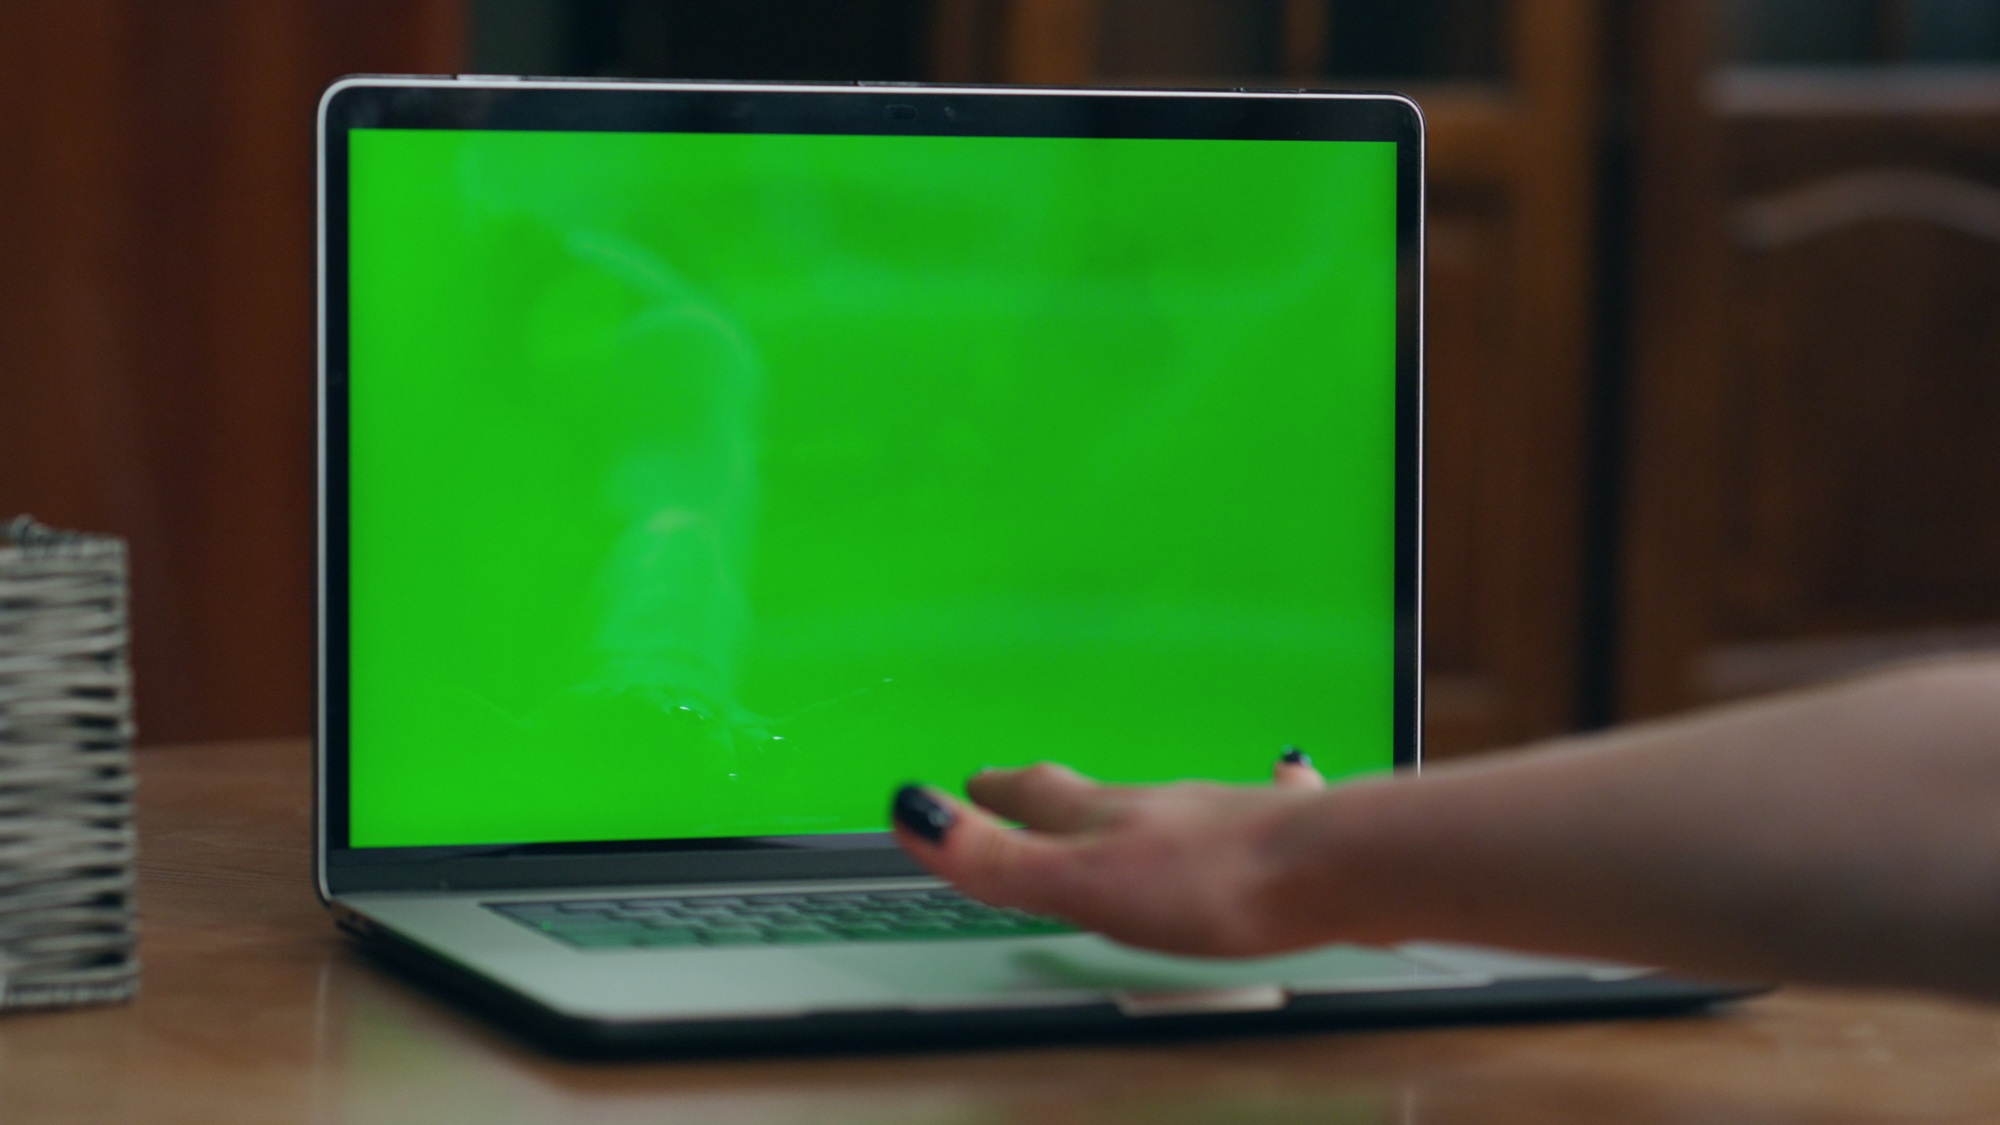
What Is a Green Screen?
A green screen, also known as a chroma key, is a backdrop used in video and photography. You place subjects in front of this vibrant green fabric or screen, allowing software to replace the green with digital backgrounds or images during post-production. This method simplifies the process of creating professional-looking videos without the need for expensive sets or locations.
Benefits of Using a Green Screen
- Cost-Effective Production: Using a green screen eliminates the need for physical locations, saving you money on travel or rental fees.
- Creative Control: You can customize backgrounds to align with your brand message or marketing campaigns, tailoring visuals to engage your audience effectively.
- Flexibility in Editing: Editing with a green screen allows for seamless integration of various digital elements, from graphics to animations.
- Enhanced Viewer Engagement: Captivating backgrounds can boost viewer interest, making your content more appealing and shareable across social media platforms.
- Professional Appearance: High-quality production values elevate your brand’s image, establishing credibility with potential customers.
Integrating a green screen into your content creation strategy can significantly enhance your video quality and engage viewers while keeping costs manageable.
Setting Up Your Green Screen

Setting up your green screen correctly maximizes its effectiveness for your video projects. Follow these guidelines to ensure optimal results.
Choosing the Right Background
Choose a green screen backdrop carefully. Opt for a uniform, single color that simplifies the keying process in post-production. An even shade reduces complications when replacing the background digitally, crucial for maintaining a professional look.
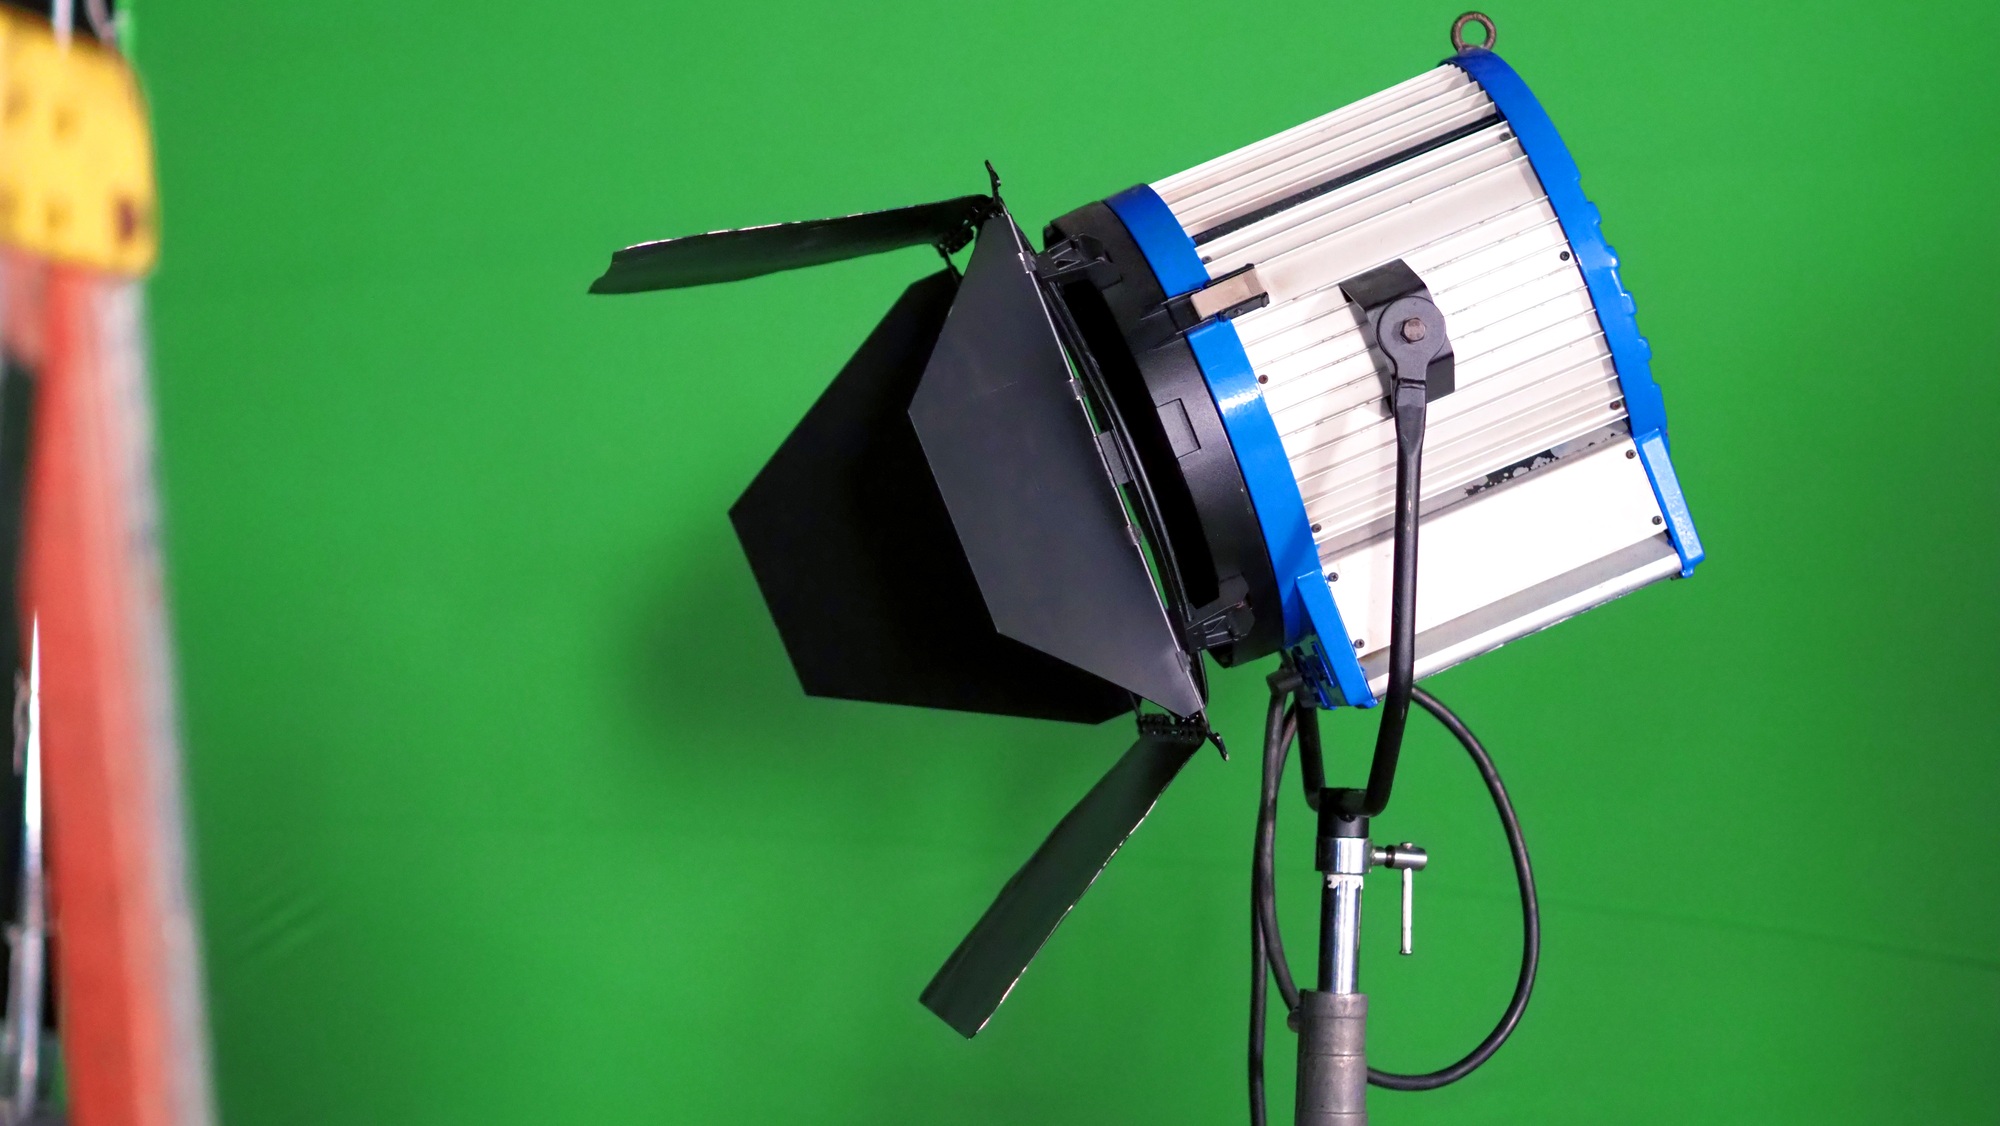
Lighting Tips for Optimal Results
Light your green screen consistently for the best results. Use soft, diffused lighting to eliminate shadows and ensure the green backdrop appears even. Avoid exposing the screen to bright spots, as this can create reflections that complicate keying. Position lights at an angle that illuminates both the green screen and your subject without casting unwanted shadows on either. Lighting plays a pivotal role in maintaining a clean separation between your subject and the green screen, essential for achieving a polished appearance.
Techniques for Using a Green Screen
Using a green screen effectively involves several key techniques that can significantly enhance your video production quality. This section outlines essential practices for setup, lighting, and avoiding common pitfalls in chroma keying.
Keying Techniques Explained
- Choose a consistent backdrop that’s smooth and even. Wrinkles or folds can disrupt the keying process. Iron out any creases in the green screen before use.
- Set up your green screen to fill the entire background. Using a frame for support helps maintain tension across the screen and prevents sagging, which can create shadows.
- Utilize a green backdrop instead of blue. The color green is less likely to appear in clothing, providing a better environment for digital compositing.
- Apply post-production software for keying. Familiarize yourself with options like Adobe Premiere or Final Cut Pro to efficiently replace the green screen with your desired digital backgrounds.
Common Mistakes to Avoid
- Skipping even lighting. Ensure your lighting setup prevents shadows on the green screen. Use diffused lighting from multiple sources to achieve consistent brightness.
- Ignoring subject lighting. Make sure the lighting on your subject matches that of the new background. Mismatched lighting can create a disconnect that diminishes the final effect.
- Not checking clothing colors. Avoid using green or shades close to green in your wardrobe. Doing so can cause parts of your attire to disappear during the keying process.
- Neglecting space behind the subject. Leave some distance between the subject and the green screen. This distance helps reduce color spill and improves the separation between the two.
By implementing these techniques, you can elevate your content and create professional-looking videos that entice your audience, all while leveraging your small business’s capabilities to the fullest.
Editing Your Green Screen Footage

Editing your green screen footage can enhance your video quality significantly. Using the right software and following a straightforward process ensures professional-looking results for your small business.
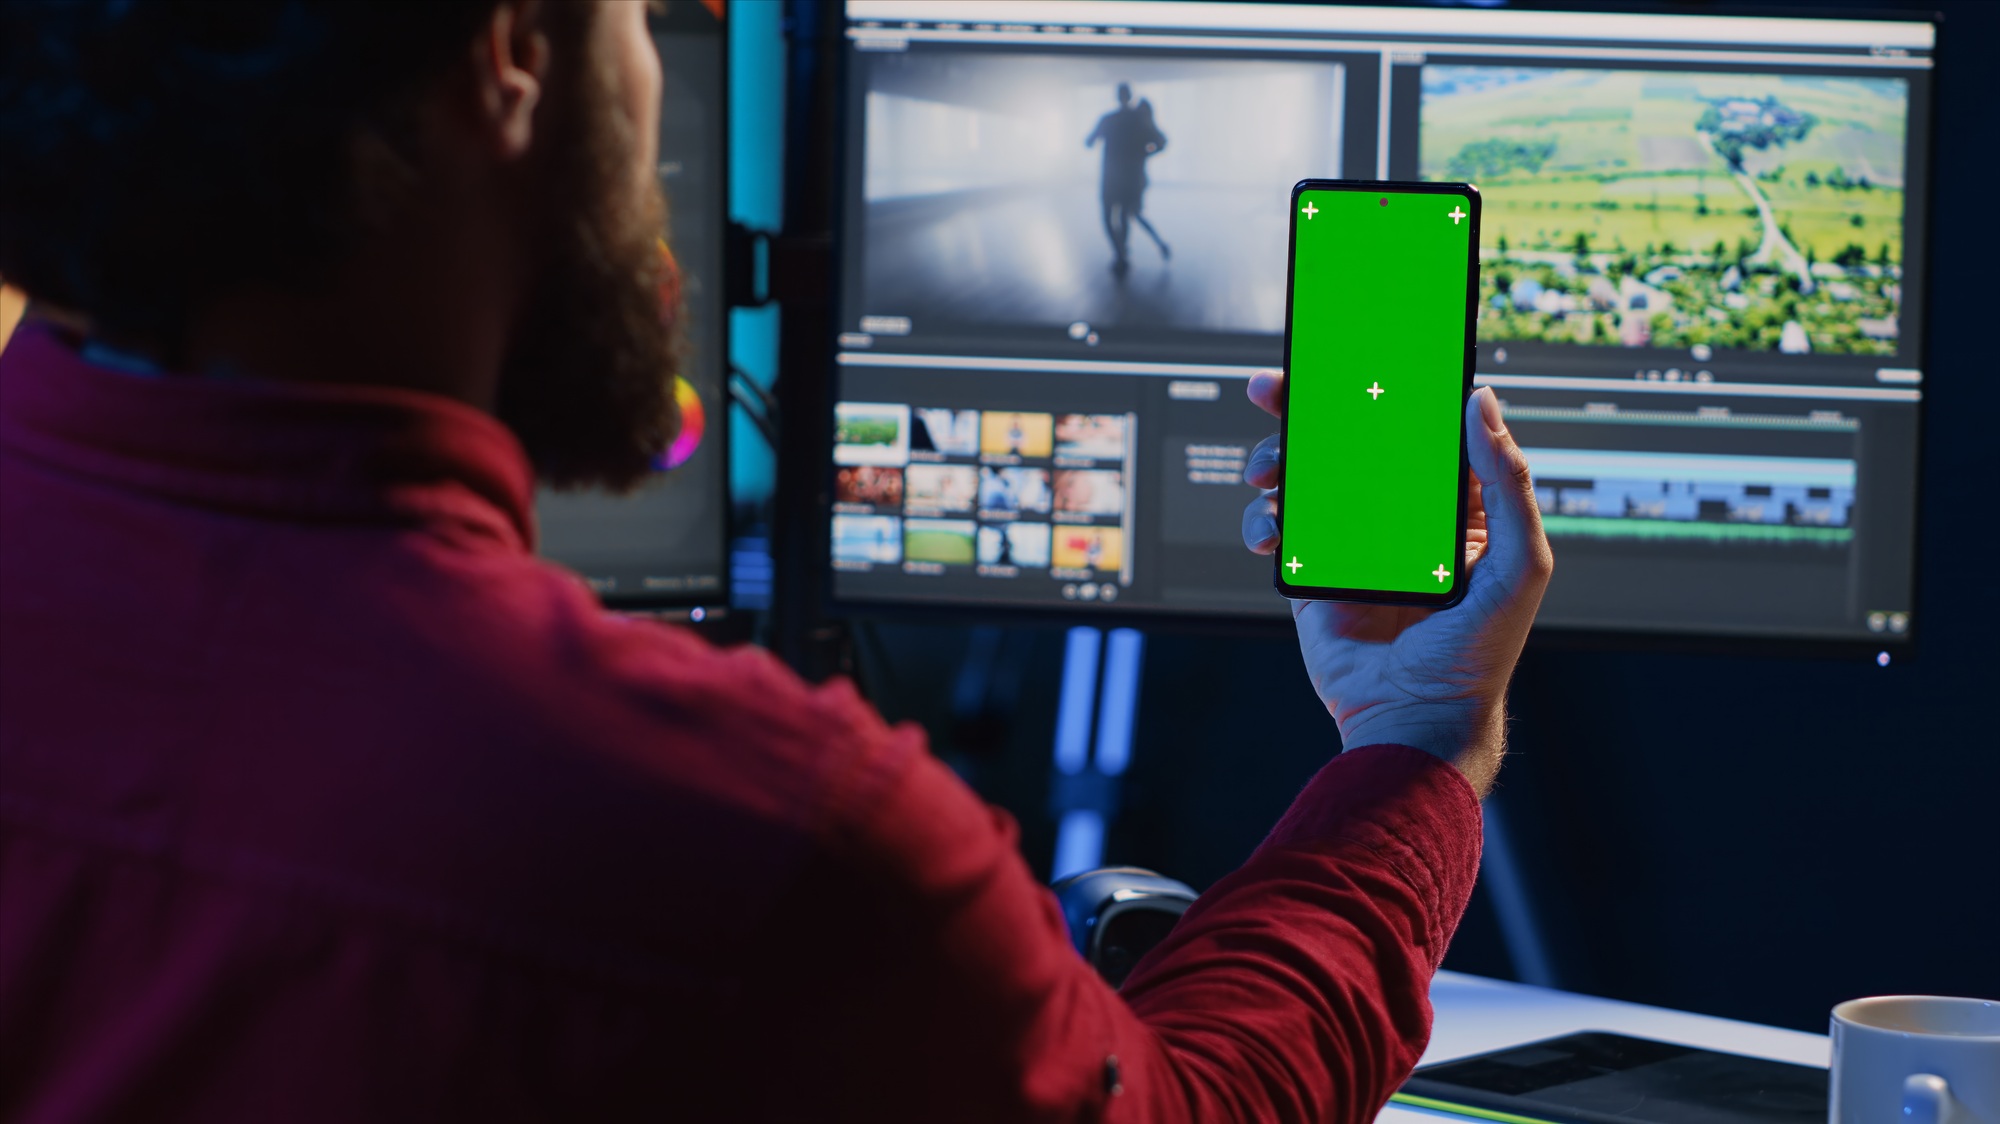
Software Options for Green Screen Editing
Choose from various software options tailored for green screen editing. Popular choices include:
- Adobe Premiere Pro: This industry-standard software offers advanced editing tools and excellent chroma key functionality. It suits small businesses needing high-quality video production.
- Final Cut Pro: This Mac-exclusive option is user-friendly and features powerful green screen editing capabilities. It’s ideal for those who prefer Apple products.
- Camtasia: This software is great for beginners, combining screen recording and editing features. Its green screen tool simplifies background removal.
- iMovie: A solid choice for Mac users, offering basic features for easy green screen edits. It’s suitable for simple video projects.
These tools provide various options to match your editing requirements and skill level.
Step-by-Step Editing Process
Follow this step-by-step process to edit your green screen footage effectively:
- Import Your Footage: Upload your recorded clips to your selected editing software for initial setup.
- Remove the Green Background: Use the chroma key tool within the software to eliminate the green background, adjusting settings for a precise cut.
- Add New Backgrounds: After removing the green backdrop, layer your desired images or videos as backgrounds, ensuring they complement your subject.
- Adjust Lighting and Color: Fine-tune lighting settings and color correction to match the foreground with the new background, enhancing cohesion.
- Edit Audio: Incorporate voiceovers or background music. Ensure sound levels blend well, maintaining professional quality.
- Preview and Export: Review your video to check for alignment and quality, then export it in HD format (720p or higher) for optimal viewing.
By mastering these editing techniques, you elevate your video content’s professionalism, enhancing your small business’s visual marketing efforts.
Conclusion
Using a green screen can truly elevate your video content and set you apart from the competition. With the right techniques and tools, you can create stunning visuals that captivate your audience. Remember to focus on proper lighting and backdrop setup to ensure seamless integration during editing.
Don’t hesitate to experiment with different backgrounds and styles to find what resonates with your brand. As you become more comfortable with the technology and editing software, you’ll unlock new creative possibilities. Embrace the power of the green screen and watch your content transform into something extraordinary.
Frequently Asked Questions
What is a green screen?
A green screen, or chroma key, is a backdrop used in video production that allows creators to replace the green background with digital images or video during post-production. This technique makes videos look more professional and allows for creative backgrounds.
How can a green screen benefit content creators?
Using a green screen can significantly enhance video quality by providing creative control over backgrounds, reducing production costs by eliminating the need for physical locations, and improving audience engagement with visually appealing content.
What are the lighting tips for using a green screen?
For an effective green screen setup, ensure consistent, soft, and diffused lighting to eliminate shadows. Proper lighting is essential for achieving a clean separation between the subject and the backdrop, which is crucial for a polished final product.
What common mistakes should I avoid when using a green screen?
Avoid skipping even lighting, mismatching subject lighting with the background, wearing green clothing, and neglecting space between the subject and the green screen. These mistakes can lead to poor compositing and unsatisfactory results.
Which software is best for editing green screen footage?
Popular software options for editing green screen footage include Adobe Premiere Pro, Final Cut Pro, Camtasia, and iMovie. Each caters to different skill levels and offers tools to achieve professional-looking results.
How do I edit green screen footage?
Editing green screen footage involves several steps: import your footage, remove the green background, add a new background, adjust lighting and color, edit audio, and finally preview and export the final video. Following these steps helps create a polished final product.
Image Via Envato: DC_Studio, YuriArcursPeopleimages, stockbusters, Image-Source, gnepphoto, frimufilms