
In terms of product photography, getting the right setup is vital. You’ll need fundamental equipment like a DSLR camera, a sturdy tripod, and softboxes for ideal lighting. Start by cleaning your products and defining your goals for the shoot. Position your items against a white background to improve clarity. Perfecting these basics will set the foundation for capturing compelling images that attract customers and drive sales. What follows is how to execute the perfect shot.
Key Takeaways

- Start by selecting a DSLR camera, tripod, and softboxes to ensure high-quality images and stable shooting conditions.
- Set up a clean, white background and organize your shooting table for a distraction-free environment.
- Prepare a detailed shot list and clean your products thoroughly to ensure they look their best.
- Capture multiple angles and close-ups while adjusting camera settings for optimal exposure and lighting.
- Edit your images using software like Photoshop or Lightroom, focusing on clarity and consistency for online use.
Understanding Product Photography Basics

Grasping the basics of product photography is essential if you want to create compelling images that effectively showcase your products. Start by comprehending that product photography, especially white background product photography, helps present your items clearly and attractively.
To learn how to take a picture with a white background, use controlled lighting to eliminate shadows and improve your product’s features. Position your product centrally within the frame for balanced composition. Experiment with angles, ensuring you capture the product’s most appealing aspects.
Editing is also fundamental in product photography; it’s where you refine your images to meet high standards. High-quality visuals can increase conversion rates considerably, as consumers rely on them for purchasing decisions.
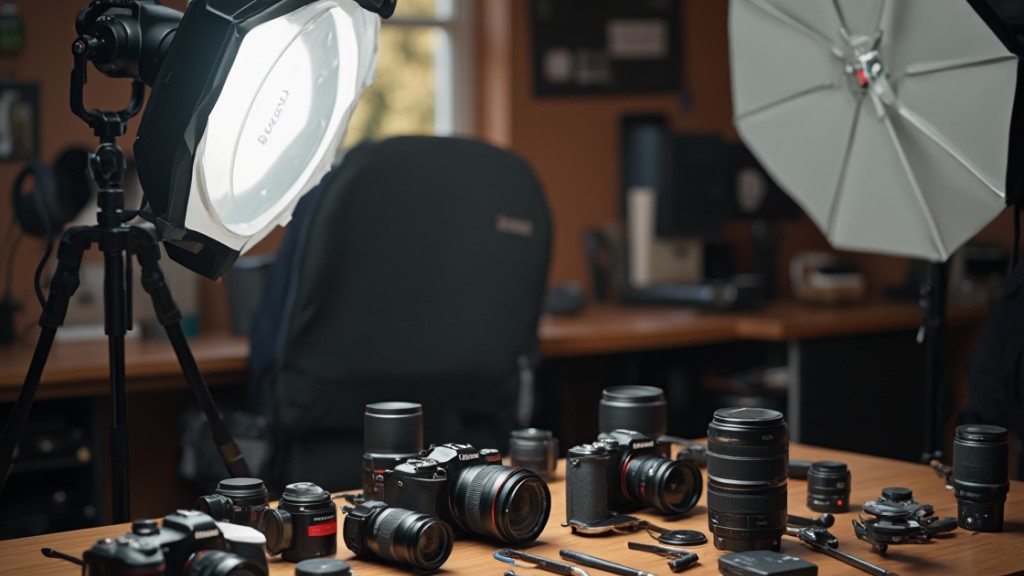
Essential Equipment for Your Setup
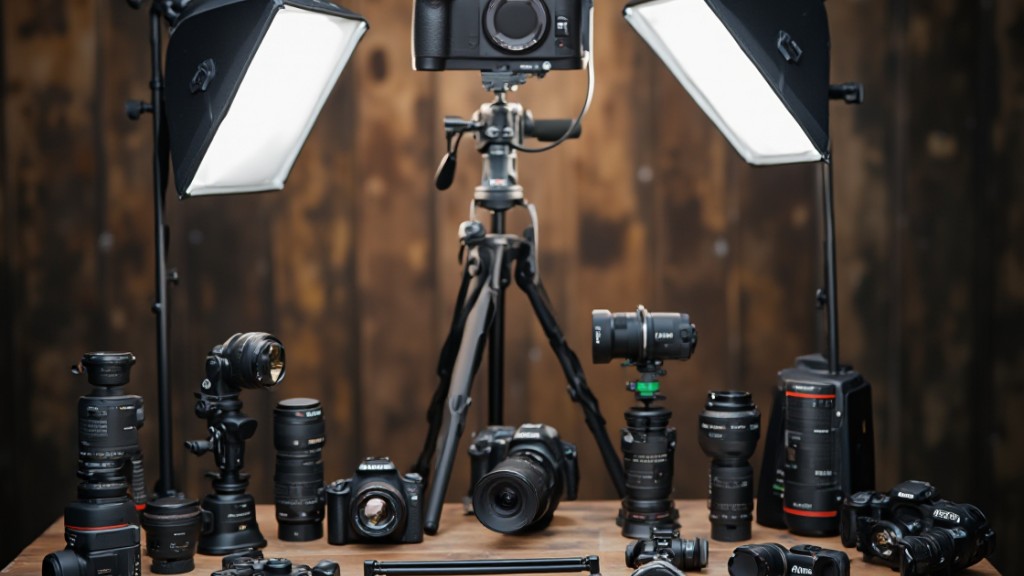
To achieve high-quality product photography, having the right equipment can greatly improve your results. Start with a DSLR camera for its versatility and superior image quality, even though smartphones can suffice for beginners.
A sturdy tripod is vital; it maintains camera stability, ensuring sharp, clear images, particularly in low-light conditions. Next, invest in softboxes or continuous lighting kits to create soft, even lighting that minimizes harsh shadows, enhancing product visibility.
For a professional touch, use seamless paper backgrounds, like Savages 01 Super White, to provide a clean, distraction-free setting that highlights your product effectively.
Finally, a shooting table with ample space is important for securely placing products and backdrops, allowing for an organized shooting environment.
With this fundamental equipment, you’ll be well-prepared to capture stunning product shots against a white background that showcase your items beautifully.
Preparing for the Photoshoot
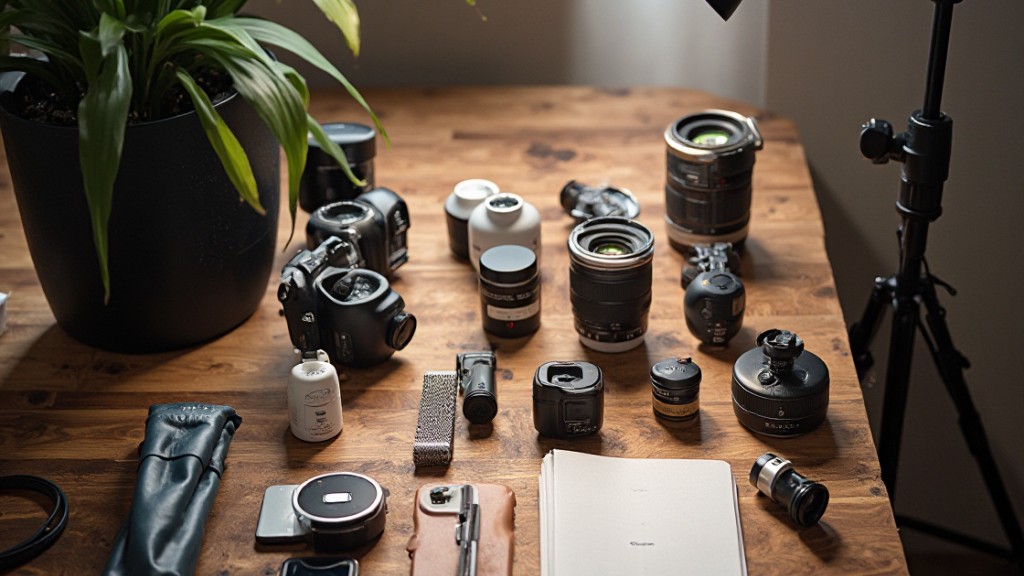
Before you begin your product photography session, it’s crucial to lay the groundwork for a successful shoot. Start by defining your goals and specifications, including the desired product angles, backgrounds, and file formats. This clarity guarantees you stay focused during the shoot.
Next, create a detailed shot list that outlines the specific images you need, such as lifestyle shots and close-ups, streamlining your process.
Prepare your products by cleaning and polishing them to remove any dust or imperfections that could detract from the final images. Assemble a styling kit with vital tools and props to improve product presentation and storytelling.
Finally, set your camera to manual mode. This allows you full control over exposure settings, so adjust the ISO, aperture, and shutter speed to achieve ideal clarity and depth in your images.
With these preparations in place, you’ll be ready to execute a productive photoshoot.
Executing the Perfect Shot
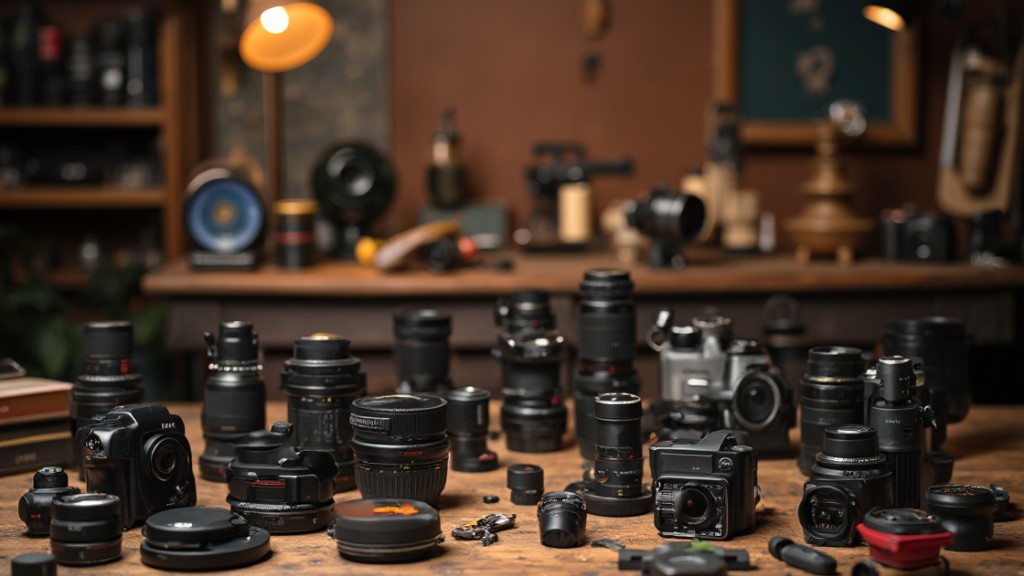
With your preparations complete, it’s time to focus on executing the perfect shot. Start by setting up a stable shooting table with a clean, white background. This will emphasize your product and minimize distractions.
Use a tripod to guarantee stability, which reduces the chance of camera shake and guarantees consistent images. Switch your camera to manual mode, adjusting the ISO to 100-200, the aperture between f/7.1 and f/16, and use a slower shutter speed for sharp details.
Utilize natural light or softboxes to create even lighting, avoiding harsh shadows and highlighting your product’s features effectively. Capture multiple angles and close-up shots to provide potential buyers with a thorough view of the product.
This detailed approach will help showcase all the necessary details, making your product photography more appealing and informative to your audience.
Post-Production and Optimization Techniques
Once you’ve captured your product images, the next step involves post-production, which plays a critical role in improving their overall quality.
Start by adjusting exposure, contrast, and color balance to guarantee clarity and visual appeal. Software like Adobe Photoshop and Lightroom can streamline this editing process, allowing you to make necessary corrections efficiently.
Utilizing Lightroom’s batch editing feature can save you time by applying consistent adjustments across multiple images, creating a uniform look for your product photography.
When optimizing images for web use, resize them according to platform specifications and export them in the JPEG sRGB format to ensure compatibility and fast loading times.
Lastly, incorporate SEO strategies by using descriptive file names and alt text. This can improve your images’ online visibility and potentially enhance search rankings, making your product photography more effective in reaching your target audience.
Frequently Asked Questions
What Are Common Mistakes to Avoid in Product Photography?
In product photography, avoiding common mistakes is essential for effective results.
First, make sure your lighting is even and free of harsh shadows.
Next, watch your background; busy or distracting elements can take attention away from the product.
Avoid using improper focus; everything should be sharp to highlight details.
Finally, don’t neglect post-processing; minor adjustments can improve the final image considerably.
Paying attention to these factors will elevate the quality of your product photos.
How Can I Choose the Right Background for My Products?
Choosing the right background for your products involves considering contrast, color harmony, and texture. A neutral background, like white or gray, often highlights the product effectively.
If your product has lively colors, opt for a subtle background that won’t compete for attention. Make certain the background complements your brand’s aesthetic.
Furthermore, consider the context; for lifestyle shots, a relevant setting can improve the appeal. Always test different backgrounds to see what works best for your specific products.
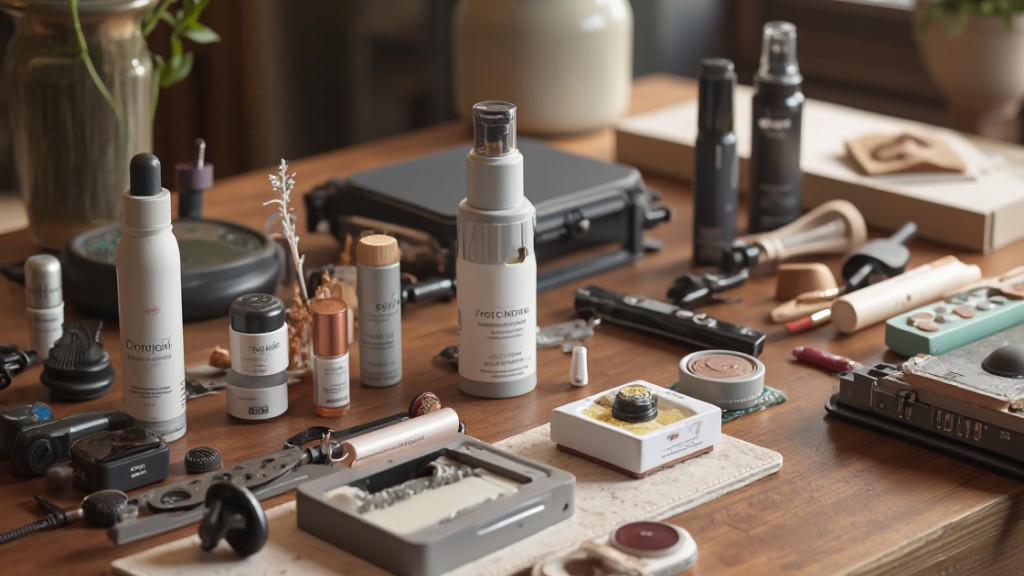
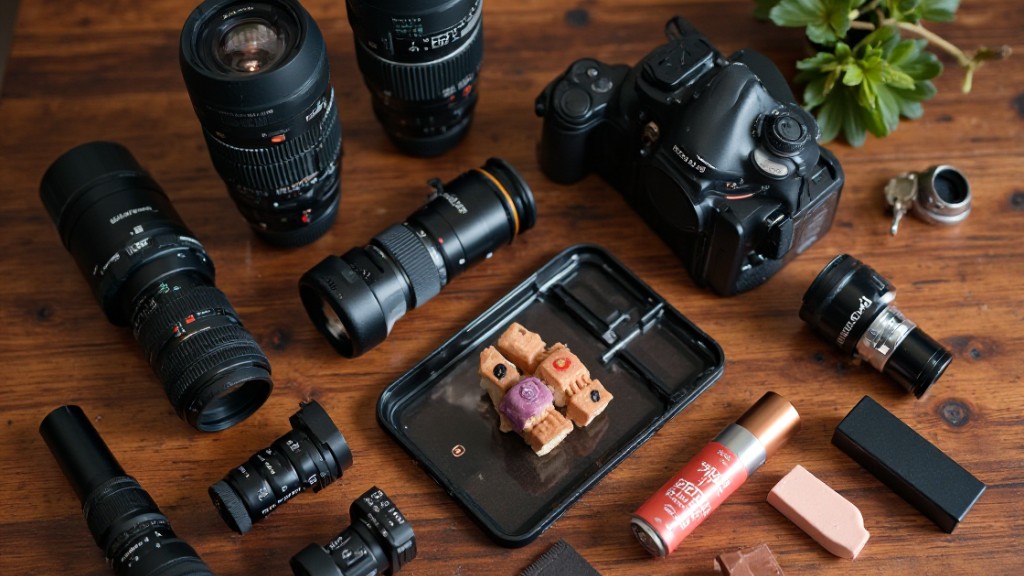
What Is the Best Way to Style Products for Photos?
To style products for photos, focus on cleanliness and simplicity. Use props that complement your product without overshadowing it.
Consider color coordination; neutral backgrounds often work best. Arrange items thoughtfully, ensuring balance and visual interest.
Utilize natural light or soft diffusers to improve details. Test various angles and orientations to find the most flattering perspective.
Finally, keep the target audience in mind, as this will guide your styling choices effectively.
How Do I Ensure Consistency Across Multiple Product Photos?
To guarantee consistency across multiple product photos, start by using the same lighting setup for each shot.
Maintain a uniform background and choose similar angles for all products. Use consistent props and styling elements to create a cohesive look.
Furthermore, adjust your camera settings, like aperture and white balance, to match each time you shoot.
Finally, consider editing photos with the same filters or adjustments to achieve a uniform appearance in post-processing.
Can I Use Natural Light Instead of Studio Lighting?
Yes, you can use natural light for product photography, and it often produces soft, flattering images.
Position your products near large windows during daylight, but be mindful of direct sunlight, which can create harsh shadows. Use reflectors to bounce light and soften shadows if necessary.
Although natural light is great, consider the time of day; early morning or late afternoon typically yields the best results, providing a warm, inviting glow to your products.
Conclusion
In conclusion, effective product photography involves careful planning and execution. By comprehending the basics, using the right equipment, and preparing your setup, you can achieve high-quality images. Focus on capturing multiple angles and close-ups to highlight product features. Finally, improve your images during post-production to optimize them for online visibility. Implementing these strategies will not just enhance your photography skills but likewise help your products stand out in a competitive market.
Image via Google Gemini