
In relation to product photography, perfecting the fundamentals can greatly improve your images. Start by comprehending your product’s unique features and visual appeal. Proper lighting techniques, equipment selection, and background considerations play vital roles in achieving high-quality photos. Furthermore, experimenting with composition and editing can further raise your work. Each of these elements contributes to a polished final product, yet there’s more to explore about optimizing your images for online platforms.
Key Takeaways

- Use a clean, neutral background to minimize distractions and enhance product visibility.
- Master lighting techniques, utilizing natural light or softboxes for even illumination and reduced shadows.
- Experiment with angles and compositions, applying the Rule of Thirds to create engaging images.
- Invest in quality equipment, such as a DSLR or mirrorless camera, to capture high-resolution images.
- Optimize images for online use by keeping file sizes small and using appropriate formats for faster loading.
Understand Your Product

Grasping your product is the cornerstone of effective product photography. Start by analyzing its form, aesthetics, and key features; this process helps you highlight unique qualities that resonate with potential buyers. When you identify textures and materials, you can sculpt your lighting to emphasize these details, creating a compelling visual representation.
Comprehending the best angles to showcase your product is vital, as capturing its most appealing aspects can greatly influence purchasing decisions.
Thorough preparation is likewise fundamental; clean and secure your items to achieve clarity and professionalism in the final images. These steps align with client desires, ensuring the product presentation meets expectations and improves customer satisfaction.
For those engaging in do it yourself photography, these product photography tips will guide you in creating effective images that attract attention and drive sales. By focusing on these foundational aspects, you’ll uplift your photography skills and produce stunning results.
Master Lighting Techniques
Becoming proficient in lighting techniques is essential for elevating your product photography, as the way you illuminate your items can dramatically impact their visual appeal. To maximize your results, consider these tips:
| Technique | Description |
|---|---|
| Natural Light | Shoot during the golden hour for soft, warm illumination that improves details and reduces harsh shadows. |
| Gradient Lighting | Adjust the size and shape of light sources to control reflections on glossy products. |
| Bounce Cards | Use white bounce cards to reflect light, reducing shadows and creating even distribution to highlight textures. |
Additionally, experiment with softboxes to diffuse light, achieving a soft and controlled environment. Monitor RGB values to maintain pure white backgrounds, aiming for values around 250-252 for ideal exposure without overexposing your product. By mastering these lighting techniques, you’ll greatly improve the quality of your product photography.
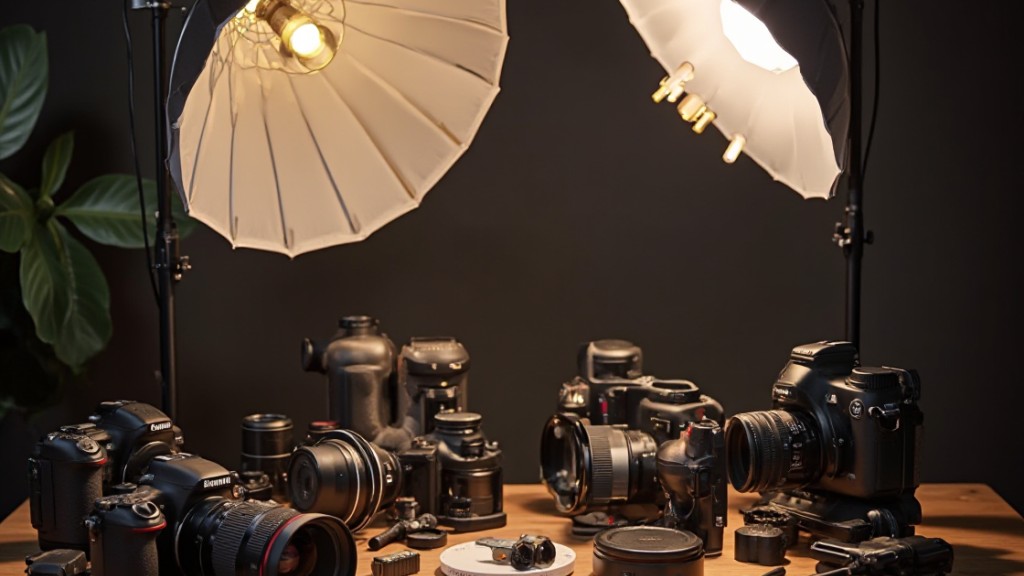
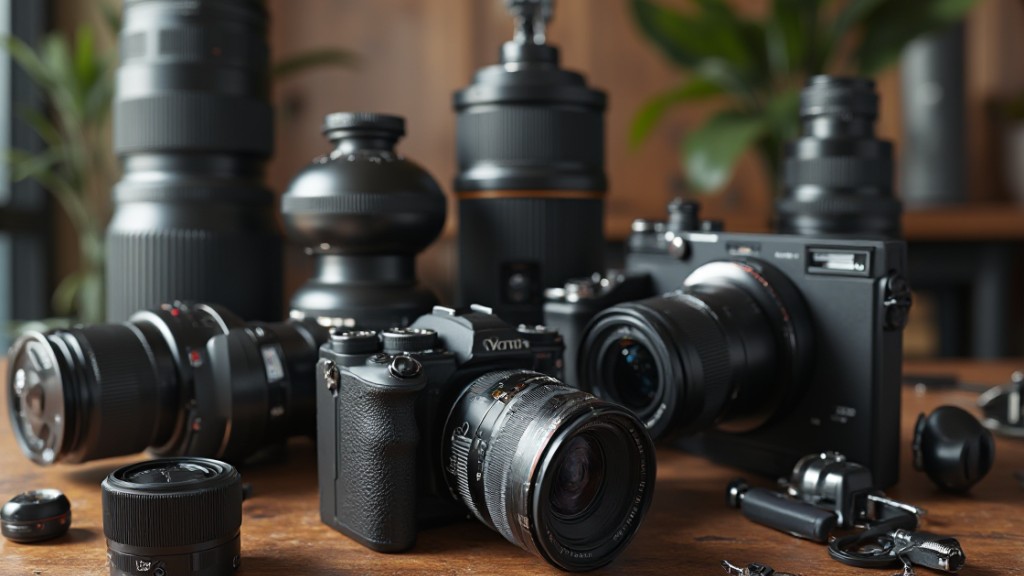
Choose the Right Equipment
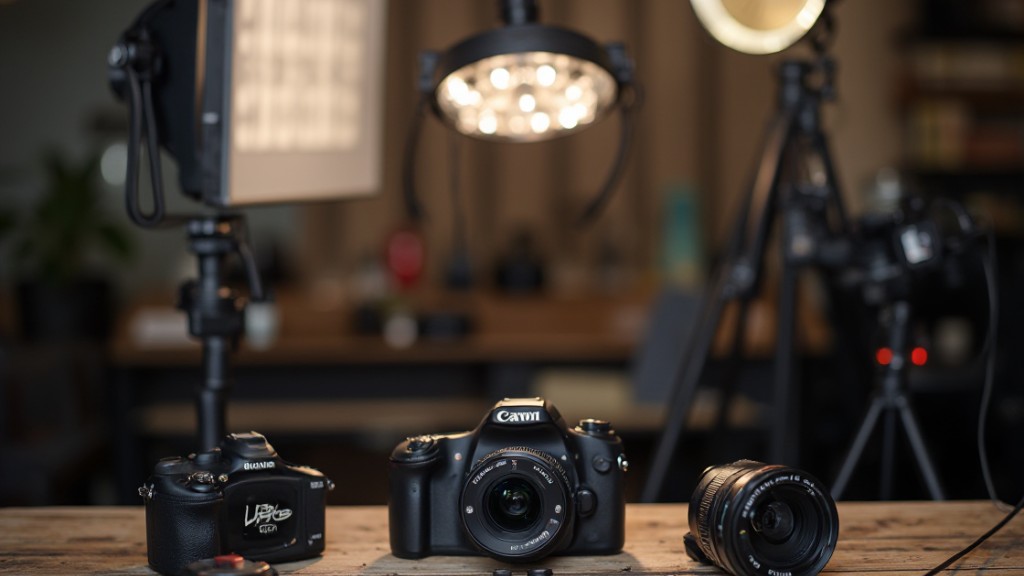
When choosing the right equipment for product photography, the type of camera you use can greatly impact your results. A Canon DSLR or mirrorless camera with a full-frame sensor offers superior image quality, but don’t overlook the capabilities of modern Apple smartphones.
Moreover, a sturdy tripod is essential for maintaining stability, ensuring your shots remain sharp and consistent, especially under varied lighting conditions.
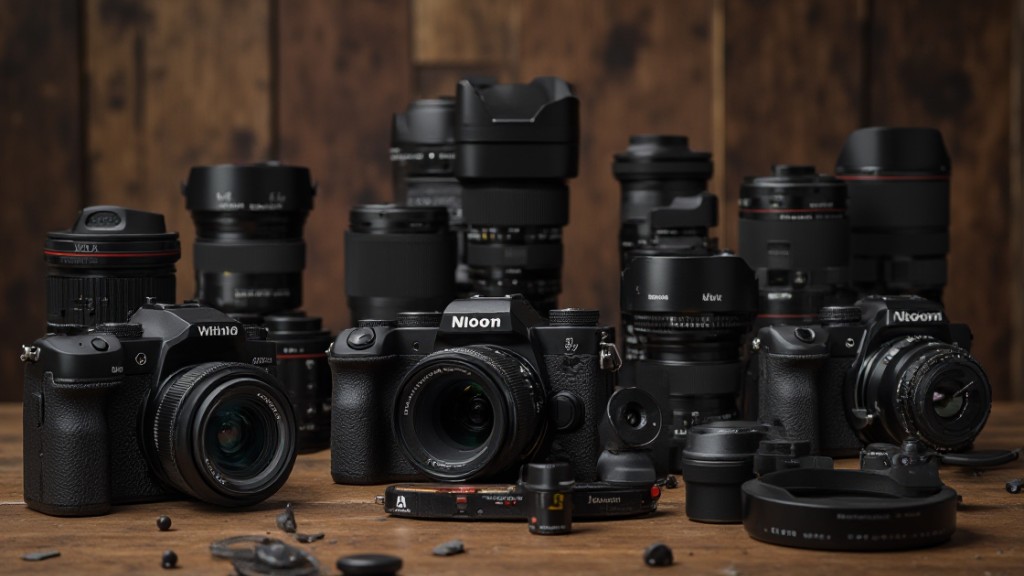
Camera Type Matters
Choosing the right camera type is essential for achieving high-quality product photography. A DSLR or mirrorless camera with a full-frame sensor is ideal for capturing high-resolution images, though modern smartphones can likewise deliver impressive results thanks to their advanced camera technology.
Don’t overlook the importance of lenses; a versatile 24–70 mm f/2.8 lens is suitable for close-ups and wider shots, whereas a 50 mm f/1.8 lens mimics the human eye’s focal length, making it effective in various settings.
Furthermore, investing in a sturdy tripod will provide stability and consistency in your shots, reducing blurriness.
Finally, using a clean white background helps improve product visibility, minimizing distractions and ensuring attention remains on the product itself.
Essential Lighting Gear
Effective lighting is vital for elevating your product photography and ensuring your images stand out.
Start by investing in softboxes or LED light panels, which create diffused lighting that minimizes harsh shadows. This results in a more even and professional look.
Incorporate reflectors to bounce light onto your product, filling in shadows and enhancing details for a dynamic image.
You can likewise experiment with natural lighting during the golden hour, right after sunrise or before sunset, to capture warm, flattering tones.
For small to medium products, lightboxes are invaluable, as they provide controlled lighting conditions that reduce shadows and create a seamless background.
Choosing the right lighting gear is critical to achieving stunning product photography.
Tripod Stability Importance
As effective lighting sets the stage for engaging product photography, the stability of your camera is just as important in achieving sharp and clear images.
Using a tripod helps prevent camera shake, ensuring your photos are free from blurriness. Here are three reasons why tripod stability is essential:
- Consistency: A tripod allows for uniform framing across multiple shots, which is fundamental for e-commerce listings where consistency matters.
- Versatility: Different styles, like tabletop and full-size tripods, cater to various product sizes and shooting environments, ensuring you have the right support.
- Adjustability: Many tripods offer adjustable height and angles, allowing you to capture products from diverse perspectives without sacrificing stability.
Investing in a sturdy tripod can greatly improve the sharpness and clarity of your product images.
Create a Clean Background
Creating a clean background is vital for product photography, as it allows the item to take center stage without distractions. A white or neutral color background guarantees your product stands out, minimizing any visual clutter.
To achieve a polished look, consider using a seamless background, like a sweep of white paper or fabric; this helps eliminate harsh shadows that can detract from the overall image. Proper lighting is fundamental as well; aim to illuminate the background evenly to prevent any unwanted color casts or shadows.
As props and textured surfaces can provide context, make sure they don’t overwhelm the product. Regularly check your background for wrinkles or imperfections, as these can greatly impact the quality of your photo and the viewer’s perception.
Experiment With Angles and Composition
When you explore different angles and compositions in product photography, you open the door to unique perspectives that can greatly boost your images. By experimenting, you can highlight your product’s features more effectively, making it visually appealing to potential buyers.
Consider these techniques:
- Use the Rule of Thirds: This composition technique creates balance and draws attention to the product, ensuring a harmonious image.
- Incorporate Negative Space: Surrounding your product with empty space emphasizes its shape and design, making it stand out in marketing materials.
- Vary Your Angles: Shooting from low or high perspectives offers a fresh take that differentiates your product from standard photos, capturing viewer interest.
Adjusting the framing to fill the majority of the image space boosts the product’s presence, ensuring it remains the focal point and increasing the likelihood of conversion.
Edit for Perfection

To achieve a polished look in your product photography, you’ll want to focus on color correction techniques and background removal methods.
Adjusting colors can make your product pop, whereas removing distracting backgrounds guarantees that the viewer’s attention stays where it belongs.
Color Correction Techniques
Color correction techniques are essential for guaranteeing that your product images accurately reflect the true colors and details of the items you’re showcasing.
To achieve ideal results, consider the following steps:
- Adjust Brightness and Contrast: Use software like Adobe Photoshop or Lightroom to modify brightness and contrast, giving your images a polished look.
- Monitor Exposure Levels: Leverage the histogram tool to check exposure, making adjustments to guarantee a balanced representation that improves product details.
- Correct Color Casts: Utilize color balance and white balance tools to eliminate any unwanted tints, guaranteeing your products appear true to life.
Additionally, regularly calibrate your monitor for consistent color accuracy, so your images look great across various devices and platforms.
Background Removal Methods
Achieving a polished look in product photography often hinges on effective background removal, which helps to draw attention to the product itself.
You can use Adobe Photoshop‘s “Magic Wand Tool” or “Quick Selection Tool” for precise background removal. These methods allow you to make easy adjustments, ensuring a clean finish.
If you’re a beginner, software like Canva or Pixlr offers user-friendly features that simplify the process and deliver impressive results.
Consistency in your background across product images reinforces your brand identity, creating a cohesive look for your e-commerce platform.
Aim for a pure white or transparent background to meet e-commerce image standards, greatly enhancing your product’s visibility and potential conversion rates.
Optimize for Online Use

When you optimize product images for online use, you’re not just improving their appearance; you’re furthermore enhancing the overall user experience on your e-commerce site.
Here are some crucial tips to guarantee your images perform well:
- Image Size: Keep image sizes under 100 KB for faster loading speeds. This can considerably reduce bounce rates and improve user engagement.
- Resolution: Use a recommended image size of 1024 by 1024 pixels. This guarantees high resolution during the maintenance of a square format that’s ideal across devices.
- File Formats: Choose appropriate file formats, like JPEG for photographs and PNG for images needing transparency. This helps maintain visual quality and loading efficiency.
Furthermore, implement file compression tools like TinyPNG or JPEGmini to retain quality while minimizing file size.
Finally, don’t forget to tag images with alt text for SEO benefits, improving search visibility and accessibility for all users.
Frequently Asked Questions
What Is the 20 60 20 Rule in Photography?
The 20 60 20 rule in photography suggests that you allocate 20% of your image to the subject, 60% to the background, and 20% as negative space.
This approach guides the viewer’s eye toward the main subject as it ensures the background complements rather than distracts.
What Are the 7 C’s of Photography?
The 7 C’s of photography are vital for creating compelling images. They include Composition, which focuses on arranging elements effectively; Color, which sets the mood and evokes emotions; Concept, the underlying idea guiding your shot; Context, situating your subject in a relevant environment; Clarity, ensuring sharpness without distractions; Creativity, encouraging unique angles and styles; and Communication, conveying a message effectively.
Each C contributes to enhancing your photography skills and overall image quality.
How to Perfect Product Photography?
To perfect product photography, start by using a tripod to eliminate blurriness.
Shoot in RAW format for better editing flexibility. Natural light works best, as it minimizes unwanted shadows.
Experiment with various angles and compositions, applying techniques like the rule of thirds to highlight product features.
Finally, resize images to 1024 by 1024 pixels and compress files for faster web loading, enhancing user experience and potentially boosting sales.
What Are the 5 C’s of Photography?
The 5 C’s of photography are Composition, Context, Clarity, Color, and Creativity.
Composition focuses on arranging elements for visual appeal, whereas Context improves the narrative through setting.
Clarity guarantees sharp, in-focus images that highlight details.
Color influences emotions and can affect purchasing decisions, so choosing the right hues is vital.
Finally, Creativity encourages you to adopt unique perspectives, helping your images stand out in a competitive marketplace.
Conclusion

In summary, stunning product photography requires a thoughtful approach, combining a comprehension of your product with effective lighting and quality equipment. By creating a clean background and experimenting with angles, you can improve your images greatly. Editing for clarity and optimizing images for online use further guarantees they meet viewer expectations. Implement these tips consistently, and you’ll raise your product photography, resulting in a strong visual impact that aligns with your brand identity and attracts customers.
Image via Google Gemini