
Key Takeaways

- Choose the Right Container: Select a suitable container with drainage holes, such as plastic bins or wooden boxes, to accommodate your worm population effectively.
- Use Composting Worms: Opt for red wigglers or European nightcrawlers, as they excel at breaking down organic matter and thriving in compost environments.
- Create Optimal Bedding: Use materials like shredded newspaper, cardboard, or coconut coir to maintain moisture and provide a comfortable habitat for your worms.
- Monitor Environmental Conditions: Keep the temperature between 55°F and 77°F, ensuring that the bedding is moist but not soggy, to foster a thriving worm ecosystem.
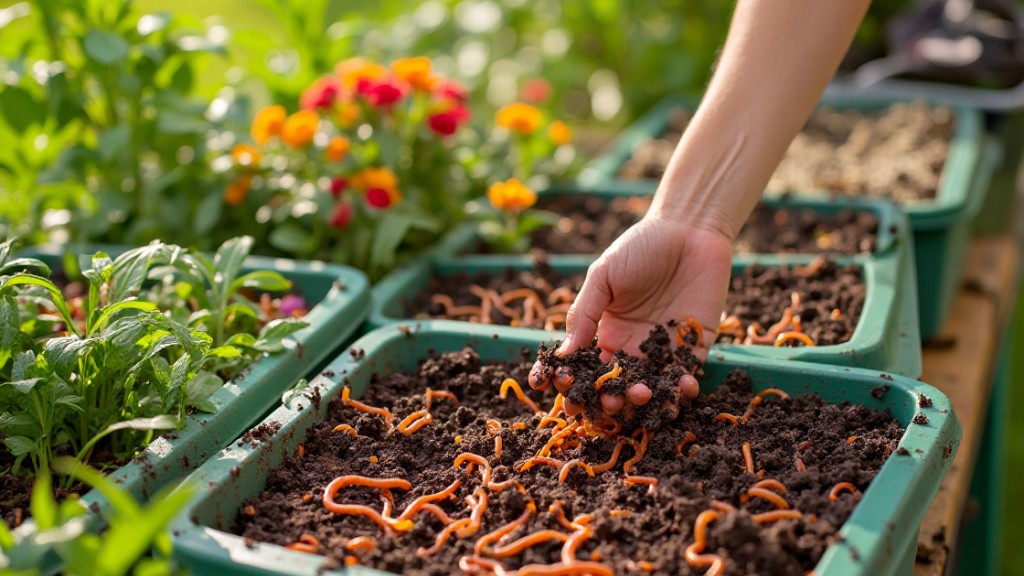
- Harvest Castings Regularly: Collect worm castings every 2 to 3 months using methods like the migration approach to separate worms from compost effectively.
- Consider Business Opportunities: Explore ways to turn your worm farming hobby into a business by marketing your compost and worms to local gardeners or farmers’ markets.
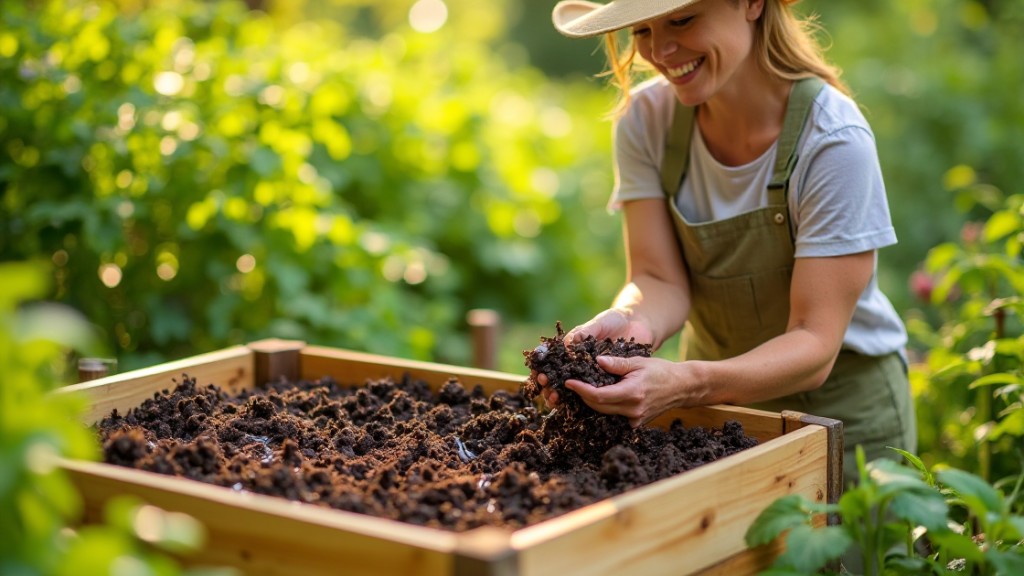
Are you ready to dive into the fascinating world of worm farming? Starting your own worm farm can be a rewarding venture, whether you’re looking to create nutrient-rich compost or simply want to explore a unique hobby. With a bit of knowledge and the right setup, you can transform kitchen scraps into valuable resources for your garden.
Worm farming not only benefits your plants but also helps reduce waste and promotes sustainable living. Imagine turning your food scraps into black gold while nurturing a thriving ecosystem right in your backyard. If you’re curious about how to get started, this guide will walk you through everything you need to know to launch your very own worm farm successfully.
How to Start a Worm Farm
Starting a worm farm involves several key steps that facilitate worm growth and compost production. Follow these steps to ensure a successful venture.
- Choose a Container
Select a suitable container for the worms. Options include plastic bins or wooden boxes with drainage holes. Ensure the container size accommodates the number of worms you plan to start with.
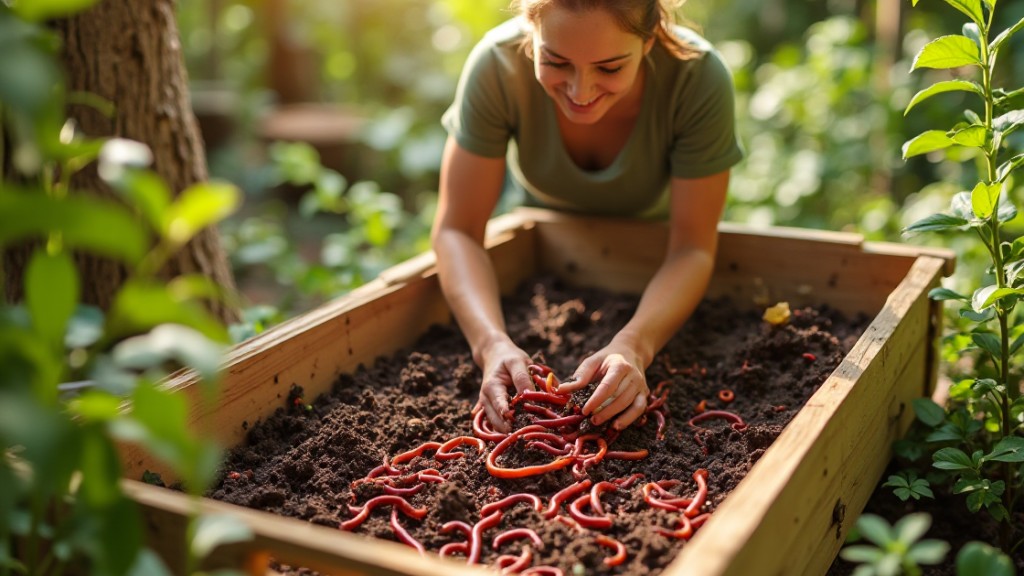
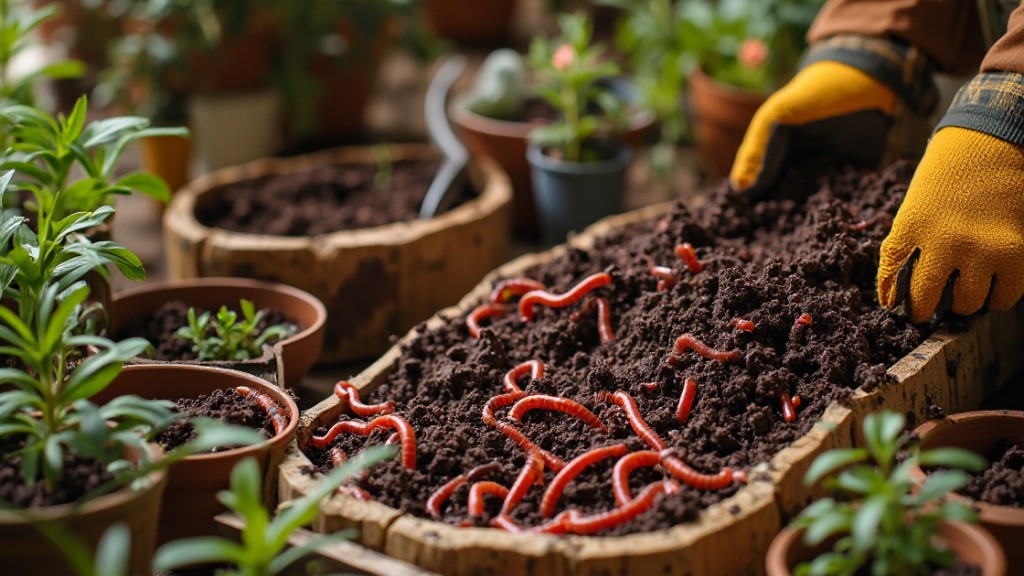
- Select the Right Worms
Choose composting worms such as red wigglers (Eisenia fetida) or European nightcrawlers (Eisenia hortensis). These species thrive in compost environments and efficiently break down organic matter.
- Create Bedding Material
Provide bedding using materials like shredded newspaper, cardboard, or coconut coir. Aim for a moisture content equal to that of a damp sponge. This bedding helps maintain a proper environment for the worms.
- Add Food Scraps
Incorporate kitchen scraps such as vegetable peels, fruit waste, and coffee grounds. Avoid meat, dairy, and oily foods. Add food scraps in moderation; a 1:2 ratio of food to bedding promotes optimal growth.
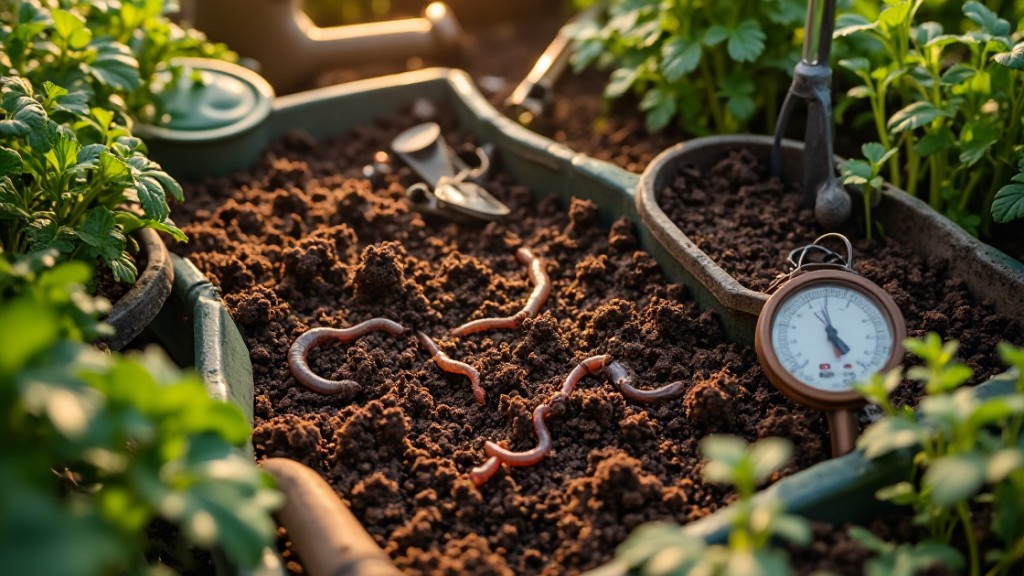
- Monitor Temperature and Moisture
Maintain a temperature range of 55°F to 77°F. Check moisture levels weekly; the bedding should be damp but not soggy. Adjust conditions as needed to create a healthy worm habitat.
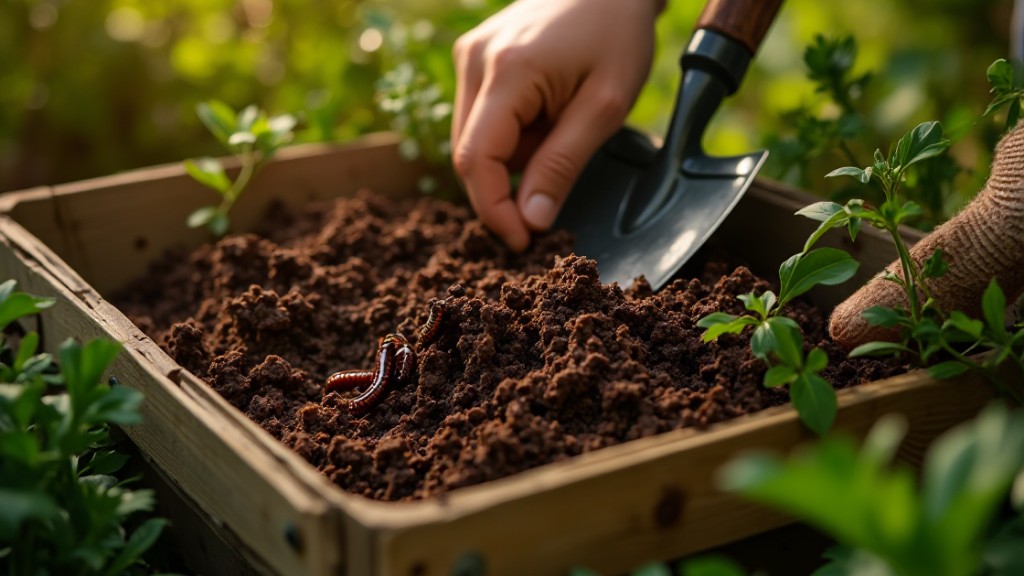
- Harvesting Compost
After several months, assess the worm castings. Collect the compost every 2 to 3 months; use techniques like the migration approach or light method to separate worms from the castings easily.
- Consider Small Business Opportunities
Explore options to turn your worm farming hobby into a small business. Market your compost and worms to local gardeners or participate in farmers’ markets. This approach yields both environmental benefits and potential income.
Benefits of Worm Farming
Worm farming offers various advantages, enhancing both your gardening efforts and promoting sustainable practices.
Advantages for Your Garden
- Nutrient-Rich Compost: Worm castings serve as an excellent fertilizer. Use this compost to boost soil quality and plant health.
- Improved Soil Structure: Incorporate worm compost into your garden to enhance soil aeration and water retention.
- Pest Resistance: Healthy soil leads to vibrant plants which naturally repel certain pests.
Environmental Impact
- Organic Waste Reduction: Convert kitchen scraps into valuable resources, significantly reducing landfill contributions.
- Sustainable Practices: Engage in eco-friendly gardening methods by utilizing organic fertilizers from your worm farm.
- Carbon Footprint Lowering: Minimize your environmental impact through composting, fostering a greener ecosystem in your backyard.
Getting Started
Starting a worm farm involves several essential steps. Focus on the right materials and conditions to ensure your worms thrive.
Choosing the Right Worms
Select red wigglers or European nightcrawlers for composting. Red wigglers excel in decomposing kitchen scraps while thriving in a worm bin environment. European nightcrawlers work well in broader conditions and produce ample castings. You require approximately 1 pound of worms for every square foot of bin surface area. Monitor their growth and reproduction to maintain a sustainable worm population.
Selecting a Location
Identify a suitable location for your worm farm. Choose a spot that maintains a temperature between 55°F and 77°F. Avoid direct sunlight and extreme humidity. A basement, garage, or shaded outdoor area serves well. Ensure the location is easily accessible for regular feeding and maintenance. Keeping the farm tidy and organized supports a productive small business opportunity in the future.
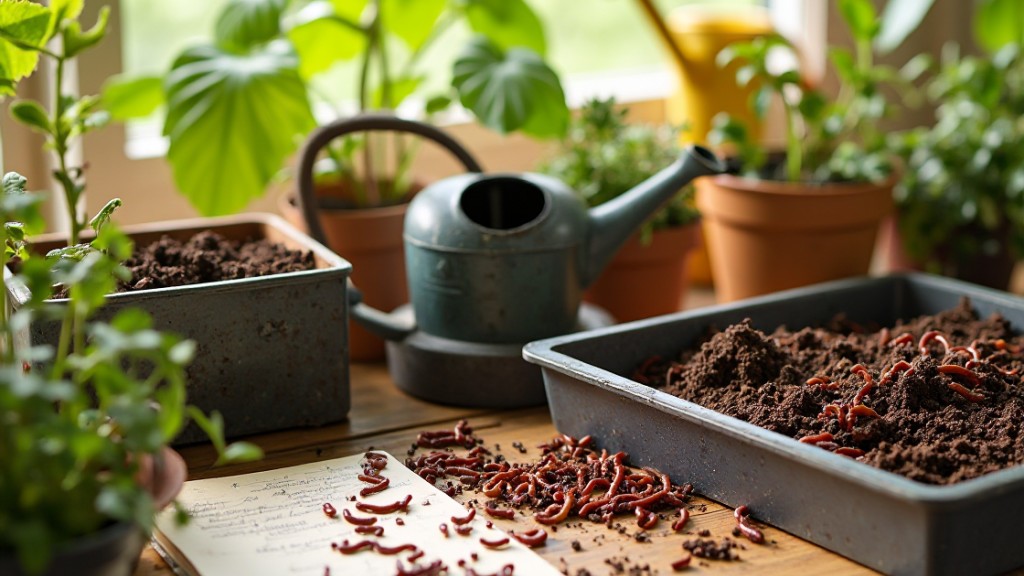
Materials Needed
Gathering the right materials is essential for successfully starting a worm farm. Below are the key components you need for this sustainable venture.
Worm Bin Options
- Reuse Old Containers: Use an old dresser drawer, fish tank, or any suitable container that measures approximately 16″ x 24″ x 8″ or holds about 10 gallons. Ensure each container is clean. For wooden bins, line the bottom and sides with plastic to prevent moisture loss and protect the worms.
- Build a Bin: Build a bin out of untreated wood or sturdy plastic. Ensure proper drainage and lid ventilation to maintain an ideal environment for worms.
Bedding Materials
- Shredded Paper: Use shredded newspaper or cardboard as bedding. This material retains moisture while providing a comfortable habitat.
- Coconut Coir: Incorporate coconut coir into the bedding mix. This biodegradable option helps with moisture retention and provides a stable environment.
- Dry Leaves or Straw: Mix in dry leaves or straw for added texture. These materials aerate the bedding, improving worm movement and health.
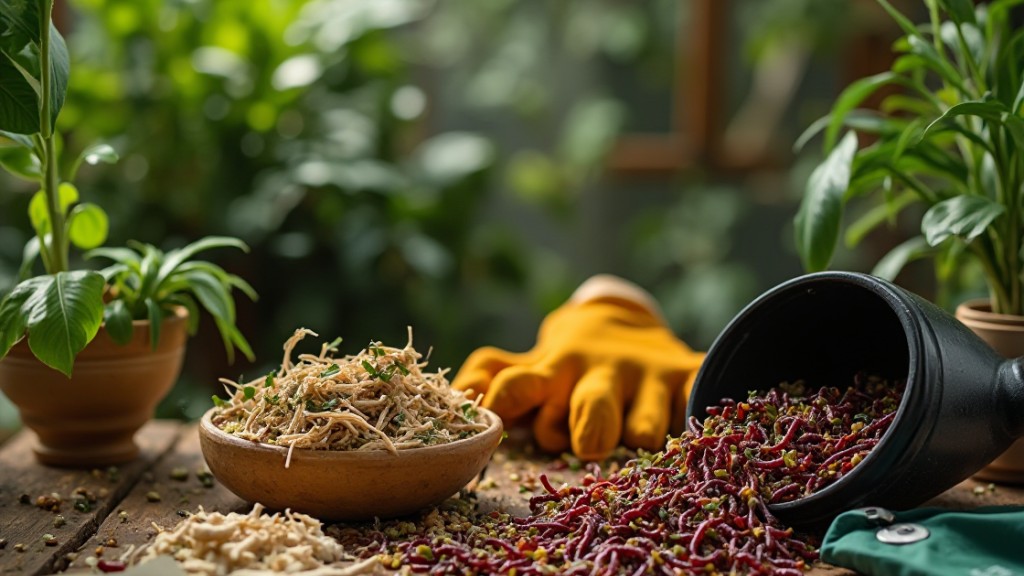
Food Sources for Worms
- Kitchen Scraps: Provide various kitchen scraps such as fruit and vegetable peels, coffee grounds, and crushed eggshells. Avoid citrus peels and meat products.
- Garden Waste: Add small amounts of garden waste like plant trimmings, stale bread, or wilted greens. This organic material promotes nutrient-rich vermicompost.
- Paper Products: Include minimal amounts of paper products like shredded cardboard or paper towels. These contribute to the carbon content in the worm bin.
Follow these guidelines for materials to ensure a thriving worm farm. This setup not only fosters an eco-friendly composting practice but also supports potential small business opportunities through compost sales.
Setting Up Your Worm Farm
Establishing your worm farm requires careful preparation and organization. Follow these steps to create a thriving environment for your worms.
Preparing the Bin
- Acquire a suitable bin: Use a repurposed item such as an old dresser drawer or a fish tank. Construct a wooden box or opt for a plastic bin with dimensions of 16″ x 24″ x 8″ (approximately 10 gallons).
- Ensure the bin is clean: Rinse the bin with tap water to eliminate residues that could harm your worms. For wooden bins, line the bottom and sides with plastic to prevent moisture loss.
- Choose a location: Select a shady, cool spot for your worm bin, such as a carport or porch. Avoid areas near windows and heaters to maintain an optimal environment.
Adding Bedding
- Select appropriate bedding materials: Use pH neutral and chemical-free materials, such as shredded paper, coconut coir, or dry leaves. Ensure materials are non-toxic and odorless while allowing oxygen flow and retaining moisture.
- Layer bedding correctly: Start with a bed layer of 3 to 4 inches deep. This provides a habitat for worms and helps maintain moisture levels.
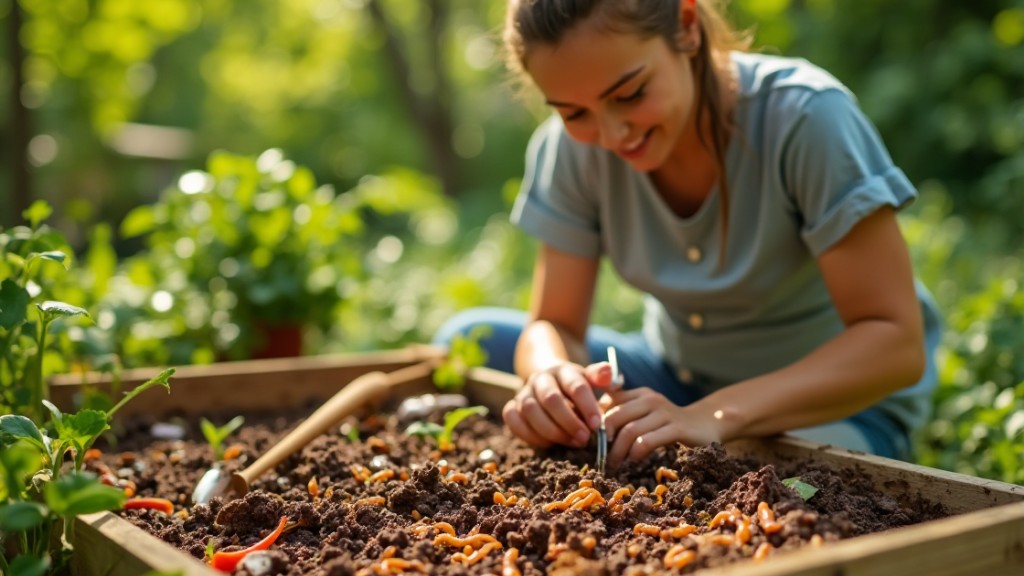
Introducing the Worms
-
Choose the right worms: Select composting worms, with red wigglers or European nightcrawlers as ideal options for maximum efficiency.
- Acclimate the worms: Before introducing them to the bedding, allow worms to adjust slowly by placing them in a small amount of bedding for a few hours.
- Introduce worms carefully: Add the worms into the bin gradually, spreading them evenly over the bedding to reduce stress.
Implementing these steps sets a solid foundation for your worm farm, potentially leading to small business opportunities through compost sales in the future.
Maintaining Your Worm Farm
Maintaining your worm farm involves regular care and attention to ensure a thriving environment for your worms. Focus on proper feeding, temperature and moisture management, and harvesting worm castings to support your small business potentially.
Feeding Your Worms
Feed your worms with appropriate organic materials to promote healthy growth. Consider providing fruit and vegetable scraps, coffee grounds, and crushed eggshells. Ensure you maintain a feeding schedule, offering scraps every 1-2 weeks while avoiding overfeeding. This balanced diet helps the worms break down organic matter efficiently, leading to nutrient-rich compost.
Managing Temperature and Moisture
Monitor the temperature and moisture levels within your worm farm to create an optimal environment. Keep the temperature between 55°F and 77°F to ensure worm activity. Use a thermometer to check this regularly. Stir the bedding occasionally to aerate it, preventing moisture buildup, which can harm your worms. Beddings should feel slightly damp but not soggy for maintaining an ideal habitat.
Harvesting Worm Castings
Harvest worm castings every 3-6 months for optimal results. Check the compost quality; it should resemble dark, crumbly soil. Gently move the bedding and castings to one side of the bin. Add new bedding to the empty side then wait a few days so worms migrate to the fresh bedding. Scoop out the castings from the other side and store them for use or sale, turning your compost into a potential small business opportunity.
Troubleshooting Common Issues
Maintaining a worm farm involves monitoring for potential challenges. Addressing common issues promptly ensures a healthy environment for your composting worms.
Dealing with Odors
Avoid overfeeding. Overfeeding leads to uneaten food, resulting in foul smells. Limit feeding to half a pound of food scraps for every pound of worms each week. Monitor moisture levels. Ensure bedding remains as moist as a wrung-out sponge. Excess moisture triggers anaerobic conditions, contributing to unpleasant odors.
Managing Worm Overpopulation
Observe worm population growth. If the worm population becomes excessive, provide additional bedding and space. Separate worms if necessary. Relocate excess worms to another bin or consider selling them as part of a small business opportunity. Keeping the population balanced prevents over-crowding and maintains a healthy ecosystem.
Addressing Pest Problems
Inspect the environment regularly. Pests like fruit flies or mites can disrupt your farm. Maintain cleanliness by promptly removing uneaten food and ensuring proper ventilation. Control the infestation. Use natural remedies such as diatomaceous earth to deter pests. Implementing preventive measures keeps your worm farm thriving and pest-free.Helpful Tips for Success
Focus on maintaining healthy worms and optimizing your worm farm for maximum yield. Incorporate the following best practices and explore alternative methods to enhance productivity.
Best Practices for Worm Care
- Feed Sparingly: Feed worms small amounts every few days rather than large quantities at once. This practice minimizes odors and overfeeding issues.
- Maintain Moisture Levels: Keep the bedding moist but not saturated. Moisture promotes worm activity. Monitor levels regularly to ensure an optimal environment.
- Monitor Temperature: Maintain temperatures between 55°F and 77°F. Excessive heat or cold can stress worms, potentially leading to decreased productivity.
- Harvest Regularly: Harvest worm castings every 3 to 6 months. Regular harvesting promotes fresh growth of worm populations and ensures nutrient-rich compost for your garden.
- Check Compost Quality: Inspect for odors or pests. Good compost should smell earthy and be free of harmful critters.
Alternative Methods for Worm Farming
- Vertical Systems: Consider vertical worm bins that maximize space and can fit into smaller areas. These systems are efficient for urban settings.
- Worm Towers: Use a worm tower setup, where worms feed on kitchen scraps directly placed in the ground. This method requires minimal maintenance.
- Bokashi Method: Explore integrating the Bokashi method by pre-fermenting food scraps before feeding them to your worms. This technique can reduce odors and accelerate decomposition.
- Small Business Opportunities: Familiarize yourself with local markets for selling excess worm castings or live worms. Packaging and promoting these products can turn your hobby into a small business venture.
Implementing these tips leads to a thriving worm farm, enhancing compost production and sustainability efforts.
Conclusion
Starting a worm farm is not just a rewarding hobby but also a step towards a more sustainable lifestyle. By transforming kitchen scraps into nutrient-rich compost you’re contributing to a healthier planet. As you nurture your worm farm you’ll discover the joy of watching your ecosystem thrive.
With a few simple steps you can create a thriving environment for your worms. Remember to monitor their needs and maintain optimal conditions for growth. Whether you’re enhancing your garden or exploring a small business opportunity the benefits are clear.
Dive into the world of worm farming and enjoy the process of creating valuable resources while making a positive impact on the environment. Your efforts will yield both personal satisfaction and ecological benefits.
Frequently Asked Questions
What is worm farming?
Worm farming involves cultivating worms, primarily for composting organic waste and producing nutrient-rich worm castings. This eco-friendly practice transforms kitchen scraps into valuable resources while nurturing a sustainable ecosystem.
What are the benefits of worm farming?
Worm farming offers several benefits, including creating high-quality compost, improving soil health, enhancing plant growth, and reducing organic waste. It also helps lower your carbon footprint and promotes a greener environment.
What type of worms should I use for composting?
The best worms for composting are red wigglers (Eisenia fetida) and European nightcrawlers (Eisenia hortensis). These worms thrive in compost bins and efficiently break down organic matter into nutrient-rich castings.
How do I set up a worm farm?
To set up a worm farm, choose a suitable container with drainage holes, add bedding material like shredded paper or cardboard, and introduce your worms. Start feeding them small amounts of kitchen scraps while monitoring moisture and temperature.
How often should I feed my worms?
Feed your worms small amounts every few days to avoid overfeeding and odor issues. Adjust the quantity based on the worms’ consumption rate and the overall health of your worm farm.
When should I harvest worm castings?
Harvest worm castings every 3-6 months. Check for odors or pests to ensure compost quality. You can either remove the castings directly or use a method like the “migration technique” to encourage worms to move.
Can I sell my worm farm products?
Yes, you can sell excess worm castings or live worms to local gardeners. This can turn your hobby into a small business while promoting sustainable gardening practices within your community.
What are alternative worm farming methods?
Alternative methods include vertical systems for space efficiency, worm towers for easy maintenance, and the Bokashi method for pre-fermenting food scraps. These options can enhance your worm farming experience and effectiveness.Image via Google Gemini