
In regards to product photography, following a structured approach can greatly improve your results. Start by selecting a clean, consistent background that complements your product, as this sets the tone for your images. Next, using a tripod is essential for stability, ensuring sharp and well-framed shots. Furthermore, the right lighting can highlight your product’s details effectively. But that’s just the beginning; capturing multiple angles and allowing zoom functionality can further raise your presentation. What’s next?
Key Takeaways
- Choose a clean, solid background that complements your product colors to enhance visibility and maintain a cohesive brand aesthetic.
- Use a tripod for stability to prevent camera shake and ensure consistent framing across all images.
- Select appropriate lighting, such as natural light or softboxes, to minimize shadows and enhance product details.
- Capture multiple angles, including close-ups and lifestyle shots, to provide customers with a comprehensive view of the product.
- Implement a zoom feature on your images to allow users to examine intricate details closely, boosting their confidence in purchasing.
Choose a Clean and Consistent Background
When you’re aiming for great product photography, choosing a clean and consistent background is essential, as it helps draw attention directly to your product.
Opt for a solid white or black surface, which eliminates distractions and boosts focus. For DIY product photography, seamless paper rolls or lightboxes can create a flawless backdrop, giving your images a professional look.
Make sure the background color complements your product colors, allowing your items to stand out. This thoughtful choice can raise visual interest and engagement with potential customers.
Consistency in background selection across all product images cultivates a cohesive brand aesthetic, making your online shop appear organized and polished.
While experimenting with different textures or themed backgrounds might add depth, simplicity is key.
Overwhelming viewers with busy backgrounds can detract from your product’s appeal. Stick to clean lines and minimal distractions for the best results in your photography.
Utilize a Tripod for Stability
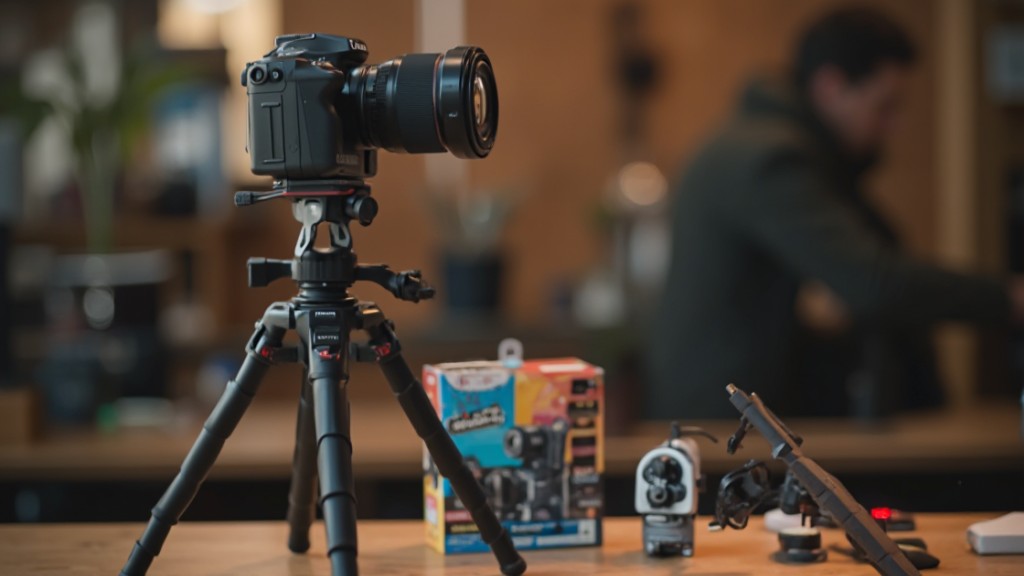
Using a tripod is one of the most effective ways to improve your product photography. It provides stability and helps prevent camera shake, ensuring your images are crisp and clear, which is critical for attracting potential buyers.
Here are some key benefits of using a tripod:
- Consistent Framing: Achieve uniform composition across multiple shots, augmenting professionalism in your presentation.
- Longer Shutter Speeds: Capture high-quality images in low-light conditions without the risk of blur.
- Adjustable Features: Many tripods offer height and angle adjustments, allowing you to explore various perspectives without changing your setup.
- Budget-Friendly Options: Although a steady surface can substitute for a tripod, investing in one is recommended for significant improvements in image quality and ease of use during shoots.
Incorporating a tripod into your workflow can greatly elevate the quality of your product photography.
Select Appropriate Lighting

After ensuring stability with a tripod, selecting the right lighting plays a significant role in achieving high-quality product photography. Natural light is often your best friend, especially during early morning or late afternoon when sunlight is soft and diffused. This helps improve your product’s appearance without harsh shadows. If you opt for artificial lighting, use softboxes or continuous lights for a consistent setup. Light tents can likewise be great for small to medium products, as they diffuse light evenly to reduce glare. You can employ reflectors to bounce light onto your products, filling in shadows and ensuring all angles are well-lit. Just remember to avoid mixing natural and artificial light sources in a single shot, as this can lead to color inconsistencies and unwanted shadows.
| Lighting Type | Benefits |
|---|---|
| Natural Light | Soft, diffused, improves details |
| Softboxes | Controlled environment, minimizes shadows |
| Light Tents | Even light distribution, reduces glare |
| Reflectors | Fill shadows, enhance lighting |
Capture Multiple Angles
Capturing multiple angles of your product is essential for providing potential buyers with a clear and detailed view, which can greatly boost their comprehension and trust in the product’s quality.
To achieve this, consider the following approaches:
- Show all sides: Capture images from the front, back, top, bottom, and sides to give a thorough perspective.
- Highlight details: For small or handmade items, include close-ups that showcase craftsmanship and intricate features.
- Include lifestyle shots: Demonstrate the product in use, helping customers visualize how it fits into their lives and routines.
- Aim for at least five angles: Providing multiple views reassures customers, especially when they’re making high-value purchases, as it gives them the visual information they need.
Tailor the number of angles based on your product type and size to boost consumer confidence and interest effectively.
Allow Users to Zoom In on Images
Allowing users to zoom in on images is an important feature for improving the online shopping experience. Implementing a zoom functionality that enlarges images at least double their original size lets customers view intricate details clearly.
Consider using shadowbox or light box methods to create pop-up images, as these improve user experience by providing a focused view of the product. It’s vital to clearly indicate how to use the zoom feature on your website, ensuring customers understand how to interact with images for a better shopping experience.
Avoid rollover zoom features, as they can disrupt the user experience and may not deliver the desired clarity when viewing product details. By allowing users to zoom in on images, you can greatly improve consumer confidence, leading to higher conversion rates and reduced return rates.
Frequently Asked Questions
What Are the 5 C’s of Photography?
The 5 C’s of photography are Composition, Camera, Lighting, Capture, and Editing.
Composition involves arranging elements for balance and focus.
The Camera aspect emphasizes proper settings like ISO and aperture for clarity.
Lighting is essential, as it affects mood and detail visibility.
Capture highlights the need for multiple angles to showcase the product.
Finally, Editing refines your images, enhancing aspects like color and contrast to create a polished final result that accurately represents your subject.
What Are the 5 Steps of the Photographic Process?
To master the photographic process, start with preparation, cleaning your product and organizing your workspace.
Next, set up your equipment, using a tripod and guaranteeing proper lighting.
Once you’re ready, capture images from various angles, applying the rule of thirds for composition.
After shooting, move to post-processing, where you edit for brightness, contrast, and clarity.
Finally, review your images to confirm consistency and prepare them for eCommerce platforms.
How to Perfect Product Photography?
To perfect product photography, start with a clean background to keep the focus on the product.
Use a tripod for stability, ensuring consistent angles and heights.
Select the right lighting—natural for softness, artificial for detail.
Capture multiple angles, showcasing the product fully.
Finally, edit your images carefully for brightness and color accuracy, avoiding excessive alterations.
This approach improves the product’s appeal and builds trust with your potential customers.
What Are the 7 C’s of Photography?
The 7 C’s of photography are crucial for creating impactful images. They include Content, which focuses on showcasing the product effectively; Capture, emphasizing correct camera settings and lighting; Composition, involving the arrangement of elements for balance; Clarity, ensuring sharpness in the image; Color, representing hues accurately; Contrast, enhancing differentiation between elements; and Creativity, encouraging innovative styling.
Comprehending these elements helps you produce visually appealing and effective photographs that communicate your product’s value.
Conclusion
By following these five steps, you can greatly improve your product photography. A clean background boosts focus, whereas a tripod guarantees stability for sharp images. Proper lighting reveals details without shadows, and capturing multiple angles showcases your product effectively. Finally, enabling a zoom feature allows potential buyers to examine intricate details closely, nurturing confidence in their purchase. Implementing these techniques will raise your photography, making your products more appealing and marketable to consumers.
Image via Google Gemini