
If you’re looking to venture into product photography, it’s vital to understand the fundamental concepts and techniques that will uplift your work. Start by familiarizing yourself with the right equipment, whether it’s a DSLR or a smartphone. Next, learn about lighting, composition, and the importance of a clean backdrop. These elements are key for capturing appealing images. As you progress, you’ll want to explore effective post-processing methods that can improve your final results. But where should you begin?
Key Takeaways
- Start with essential equipment like an entry-level DSLR or a modern smartphone with a good camera for quality images.
- Learn basic photography principles including lighting, composition, and camera settings for effective product representation.
- Set up a clean, well-lit space with minimal distractions to highlight your products in photographs.
- Experiment with different angles and styles to find unique perspectives that showcase your products effectively.
- Utilize post-processing software like Adobe Photoshop or Lightroom to enhance images and ensure brand consistency.
Understanding the Basics of Product Photography
Product photography is fundamental for showcasing items effectively and influencing consumer purchasing decisions. If you’re considering a product photography career, grasping the basics is indispensable.
Start by familiarizing yourself with different types of shots, such as studio shots for clean backgrounds, lifestyle shots that show products in use, and detail shots that highlight textures. Good lighting is critical; natural light is often the most flattering, but artificial lighting gives you control and consistency, especially for larger catalogs.
Achieving proficiency in camera settings like aperture, ISO, and shutter speed is likewise important, with settings typically ranging from f/8 to f/11 and ISO 100 for the best clarity.
Finally, post-processing is key. Learning how to adjust white balance, brightness, and remove backgrounds can enhance your images, ensuring they look polished and professional.
This foundational knowledge will help you get into product photography successfully.
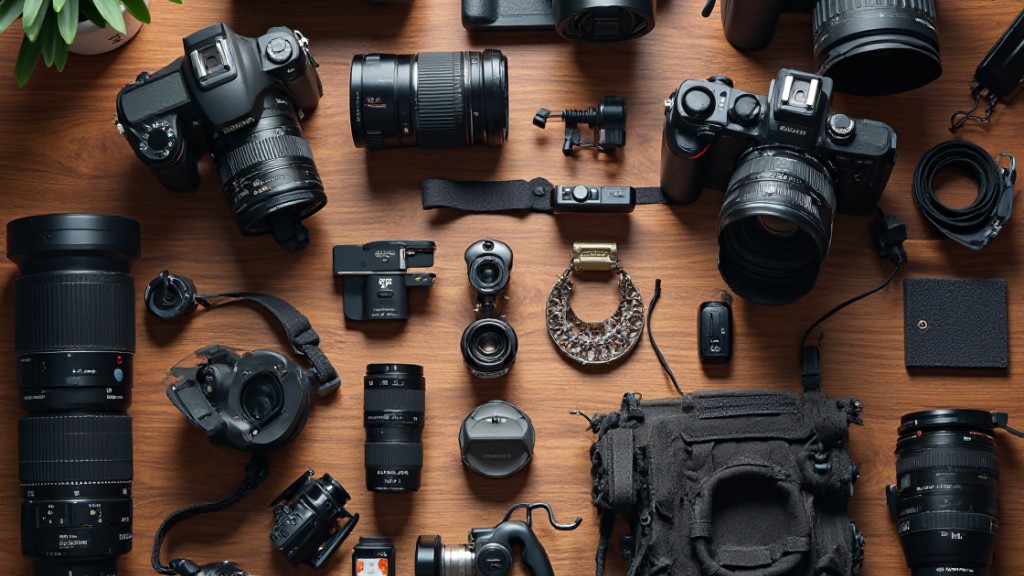
Essential Equipment for Beginners
When starting out in product photography, choosing the right equipment is essential for achieving great results.
You’ll want to think about options like entry-level DSLR cameras or even modern smartphones that can capture high-quality images.
Moreover, investing in basic lighting setups and clean backgrounds will help you create professional-looking photos that effectively showcase your products.
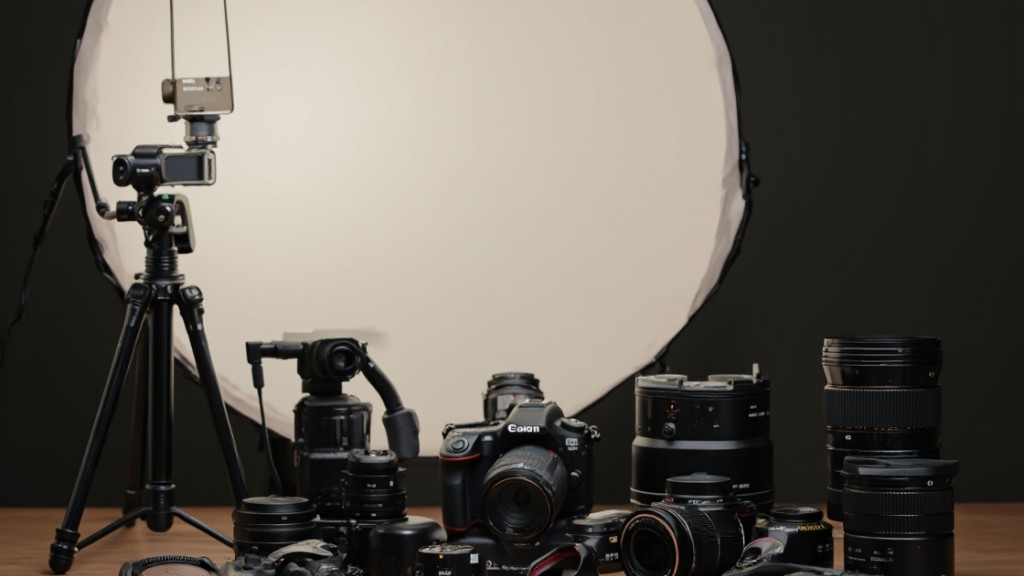
Camera Options for Beginners
Choosing the right camera for product photography is vital, especially if you’re just starting out.
Entry-level DSLR cameras, like the Canon EOS Rebel or Nikon D3500, offer versatility and high image quality, making them excellent choices for beginners.
Alternatively, modern smartphones come with advanced cameras that deliver impressive results and are convenient for on-the-go shooting.
Furthermore, a sturdy tripod is important for stability, ensuring sharp images even in low light conditions.
Consider these options:
- Entry-Level DSLRs: Versatile and high-quality images.
- Smartphones: Convenient for quick shoots with great results.
- Tripod: Vital for stability and sharpness in photos.
With these tools, you’ll be well-equipped to start your product photography expedition.
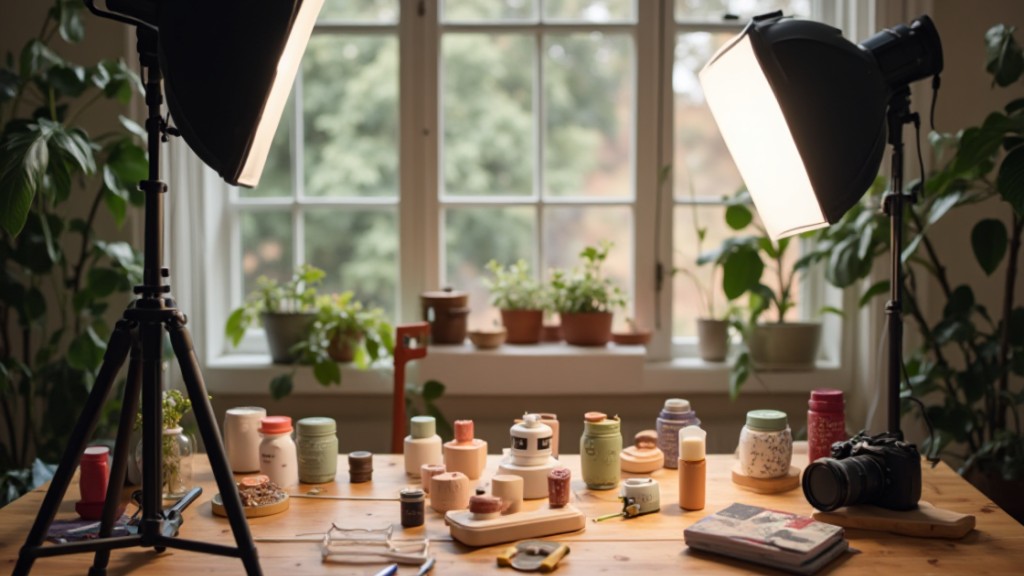
Lighting Setup Essentials
Setting up the right lighting can greatly improve your product photography, making your images more appealing and professional. A basic two-light setup using softboxes helps diffuse light and eliminates harsh shadows.
For beginners, continuous lighting kits or LED panels offer consistent illumination across various product sizes. Alternatively, a DIY lightbox made from a cardboard box and white poster board creates a controlled environment, reducing shadows as it highlights product details.
Don’t forget reflectors and diffusers; these accessories manage light direction and intensity, enhancing your product’s appearance and eliminating glare.
Positioning your lights at a 45-degree angle from the product guarantees balanced illumination, adding depth and showcasing textures effectively, which is vital for high-quality product photography.
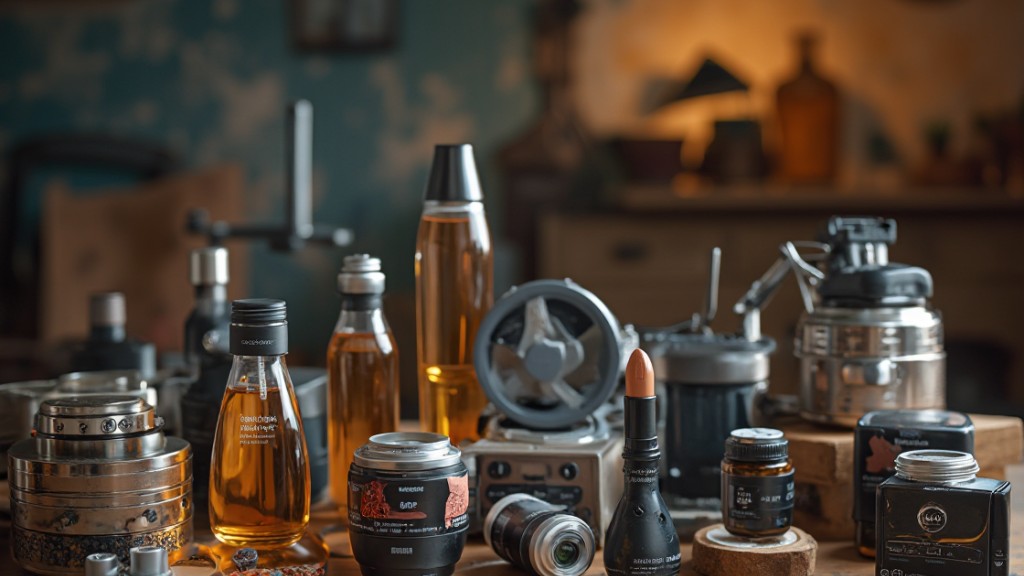
Background and Props
A well-chosen background and appropriate props play a crucial role in enhancing product photography. To boost your images, consider using a lightbox made from a cardboard box lined with white poster board for even lighting and a seamless look.
Although white backgrounds are standard for e-commerce, experimenting with solid colors or textures can better reflect your brand’s identity.
When selecting props, verify they complement your product without overwhelming it. Choose items that illustrate its use or support your narrative style.
- Lightweight fabric or seamless paper backgrounds are easy to set up and store.
- Natural materials like wood or stone add texture and depth.
- Keep a consistent style across your shots for a professional appearance.
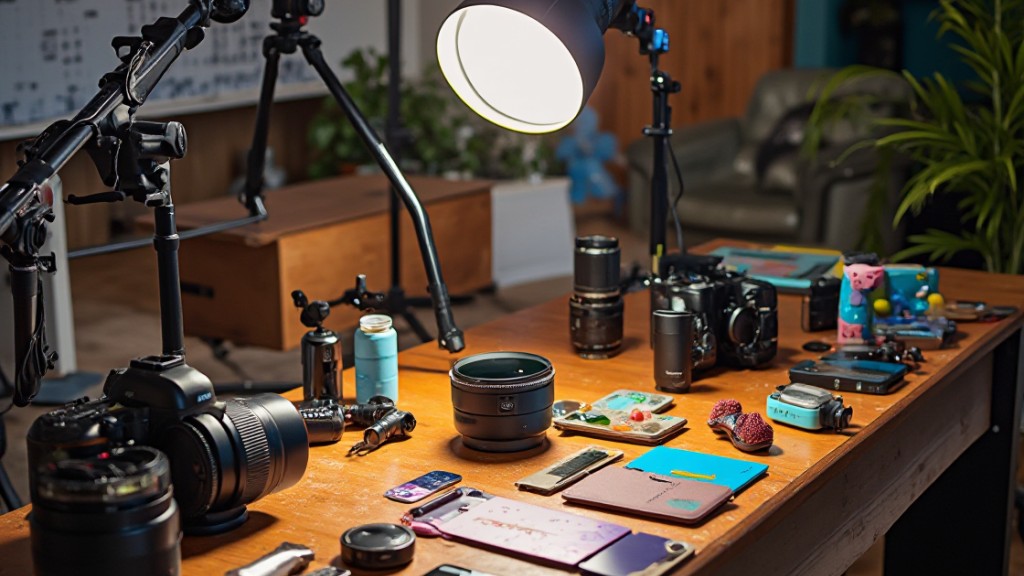
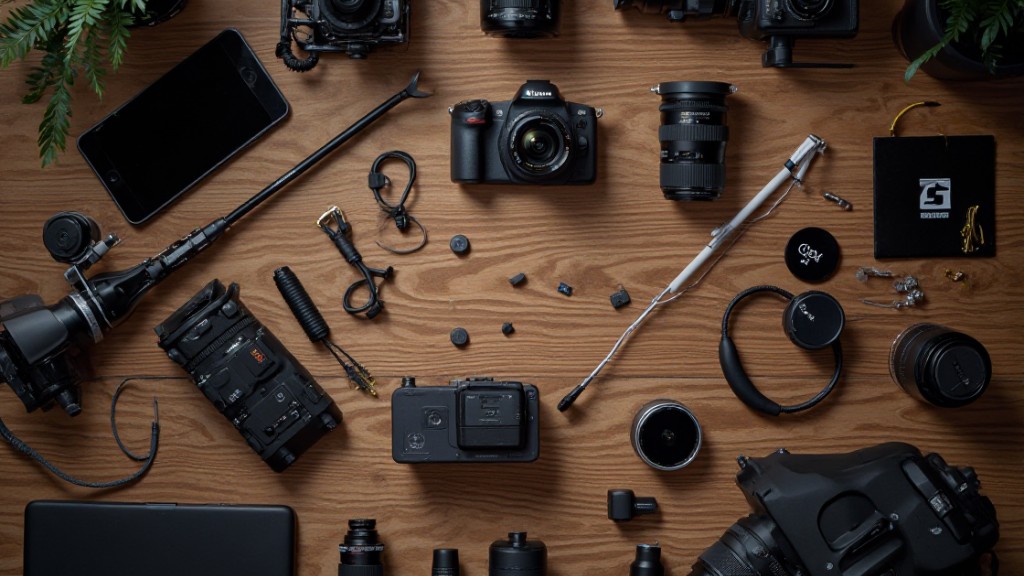
Setting Up Your Photoshoot Space
Creating an effective photoshoot space is vital for capturing high-quality product images. Choose a well-lit area with ample natural light, or set up artificial lighting to eliminate harsh shadows and guarantee even illumination. A sturdy tripod is fundamental to stabilize your camera, maintaining sharpness, especially with slower shutter speeds.
Declutter your environment and select a simple backdrop, like seamless paper or a lightbox, to keep the focus on your product. If you’re photographing small to medium-sized items, consider using a lightbox made from a cardboard box and white poster board to diffuse light and provide a professional look.
Confirm your workspace has enough room for all equipment and products, allowing for easy movement and adjustments during the shoot. This organized approach not merely improves your efficiency but additionally boosts the quality of your images, making them more appealing to potential customers.
Pre-Photoshoot Preparations
Before you start snapping photos, it’s important to prepare thoroughly to guarantee everything goes smoothly during the shoot.
Begin by defining clear goals and specifications, including the desired platform sizes, background requirements, and file types. This will guarantee ideal presentation.
Next, create a detailed shot list that outlines the angles, details, and lifestyle shots you want to capture, streamlining the photoshoot process.
Don’t forget to prepare your products by cleaning, polishing, and removing any labels or distractions to improve their appearance.
Here’s a quick checklist for your pre-photoshoot preparations:
- Assemble a styling kit with crucial tools like props, tape, and backdrops.
- Organize a naming and folder structure for easy file management to facilitate efficient editing and retrieval of images.
- Confirm every product is ready and looks its best to maximize your photography efforts.
Executing the Photoshoot
When you start executing the photoshoot, focus on setting up your lighting to guarantee even illumination and eliminate harsh shadows.
Composing your shots is equally important; consider various angles and the rule of thirds to create compelling images that showcase your product effectively.
Setting Up Lighting
Proper lighting is essential for capturing high-quality product photographs that showcase details and colors effectively. You can achieve ideal lighting by using a combination of natural and artificial sources.
Consider these techniques:
- Utilize natural light during golden hours or on overcast days for soft illumination.
- Use softbox kits or LED panels at a 45-degree angle to minimize harsh shadows.
- Construct a DIY lightbox with a cardboard box and white poster board for a seamless background.
Additionally, experiment with reflectors, like white foam boards, to bounce light and fill in shadows.
Finally, maintain consistent lighting across all your shots by using the same setup and camera settings, ensuring a uniform look in your portfolio.
Composing Your Shots
Composing your shots effectively is vital for showcasing your product in the best light. Start by utilizing the rule of thirds, placing your product off-center to draw attention.
Experiment with various angles—front, back, and 45-degree shots—as well as macro details to capture the product’s features. Consistent lighting is important, so maintain the same setup throughout the shoot for a professional look.
Incorporate negative space strategically to emphasize the product while leaving room for future messaging or branding.
Finally, always review your shots on a large screen during tethered shooting. This allows you to assess composition and make immediate adjustments, ensuring best results and a cohesive final product.
Post-Production Tips and Techniques
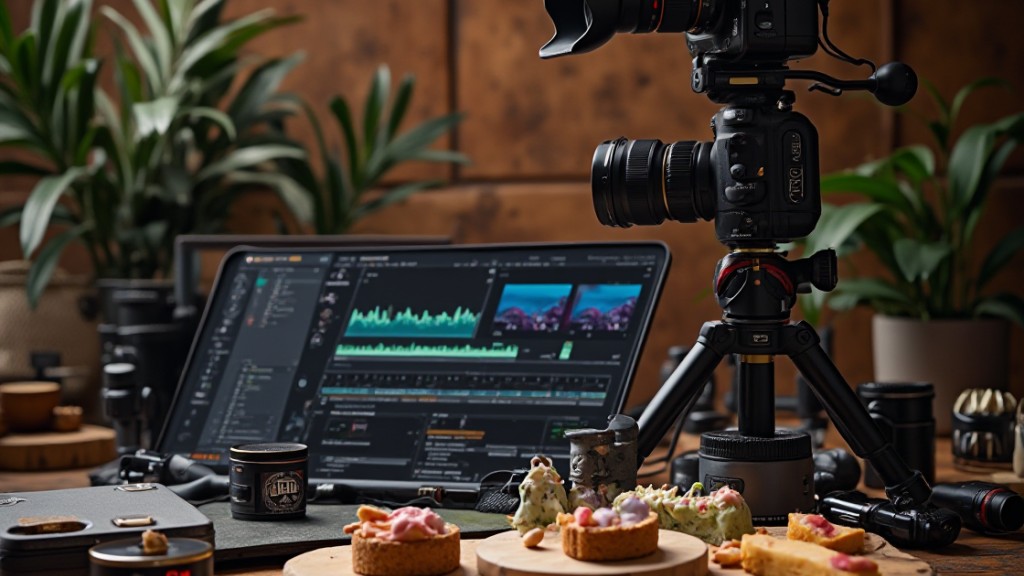
Effective post-production is crucial for making your product photography stand out, as it can transform a good image into a great one.
Utilize software like Adobe Photoshop and Lightroom for effective post-processing. These tools offer fundamental features for color correction and image refinement. Adjust brightness and exposure to improve clarity, ensuring your product images are visually appealing.
Employ spot healing and selective color correction to remove minor imperfections as you present true-to-life colors.
To maintain consistency across your product catalog, consider using presets in Lightroom. This approach reinforces your brand identity.
Finally, export your final images in JPEG sRGB format, keeping the long edge size between 1500-3000 pixels for maximum quality and compatibility with e-commerce platforms.
- Use Adobe Photoshop and Lightroom for editing.
- Adjust brightness and exposure for clarity.
- Employ presets for a unified brand look.
Tips for Improving Your Product Photography Skills

Perfecting product photography involves a combination of technical skills and creative insights that can greatly refine your work. To boost your photography, experiment with various camera angles and compositions. Use perspectives like front, back, 45-degree, top shot, macro, and group shots to improve visual appeal. Shoot in RAW format for flexible post-processing, allowing for adjustments without losing quality.
Study influential still-life photographers to learn effective composition, lighting, and styling techniques. Maintain an online portfolio showcasing diverse styles to attract clients and demonstrate your skills. Engage in workshops or online courses focusing on both technical and artistic aspects to stay updated with industry trends.
Here’s a quick reference table to guide your improvement:
| Tip | Description | Benefit |
|---|---|---|
| Experiment with Angles | Use six perspectives for engaging visuals | Attracts potential customers |
| Shoot in RAW | Greater flexibility in post-processing | Maintains image quality |
| Create a Portfolio | Showcase diverse styles online | Attracts more clients |
Frequently Asked Questions

How to Get Started With Product Photography?
To get started with product photography, choose a versatile camera, like an entry-level Canon DSLR or a quality Apple smartphone.
Set up a dedicated shooting area with good lighting to avoid harsh shadows.
Create a shot list covering various angles and styles for thorough product views.
Edit your photos using software like Adobe Lightroom to improve their appeal.
Finally, practice regularly and build an online portfolio to showcase your best work and attract clients.
What Is the 20 60 20 Rule in Photography?
The 20 60 20 rule in photography suggests that you should allocate your composition into three parts.
First, designate 20% for the main subject, which captures the viewer’s focus.
Next, use 60% for the background and negative space to provide context.
Finally, the remaining 20% can include props or additional elements that improve the image without competing with the subject.
This approach helps create balanced, visually appealing photographs, crucial for effective communication.
What Is the 400 Rule in Photography?
The 400 rule in photography helps you determine the maximum shutter speed to avoid motion blur when shooting handheld.
To apply it, divide 400 by the effective focal length of your lens. For example, if you’re using a 100mm lens, your maximum shutter speed should be 1/100 seconds.
This guideline is especially useful in low-light situations, ensuring your images remain sharp and clear, though modern stabilization technology can sometimes allow for slower speeds.
What Are the 7 C’s of Photography?
The 7 C’s of photography are crucial for creating impactful images. They include Composition, which arranges elements effectively; Clarity, ensuring sharpness and focus; Color, influencing mood and emotion; Contrast, highlighting differences between light and dark; Context, giving your subject meaning; Creativity, encouraging unique perspectives; and Consistency, maintaining a unified style across your work.
Perfecting these principles can greatly improve your photography and help convey your intended message to viewers.
Conclusion
In summary, starting your expedition in product photography requires a combination of the right equipment, a well-organized shooting space, and a solid comprehension of photography basics. By perfecting camera settings, experimenting with different setups, and developing your post-processing skills, you can greatly improve your images. Consistent practice and refinement of your techniques will contribute to your growth. With dedication and attention to detail, you’ll be well on your way to capturing stunning product photographs.
Image via Google Gemini