
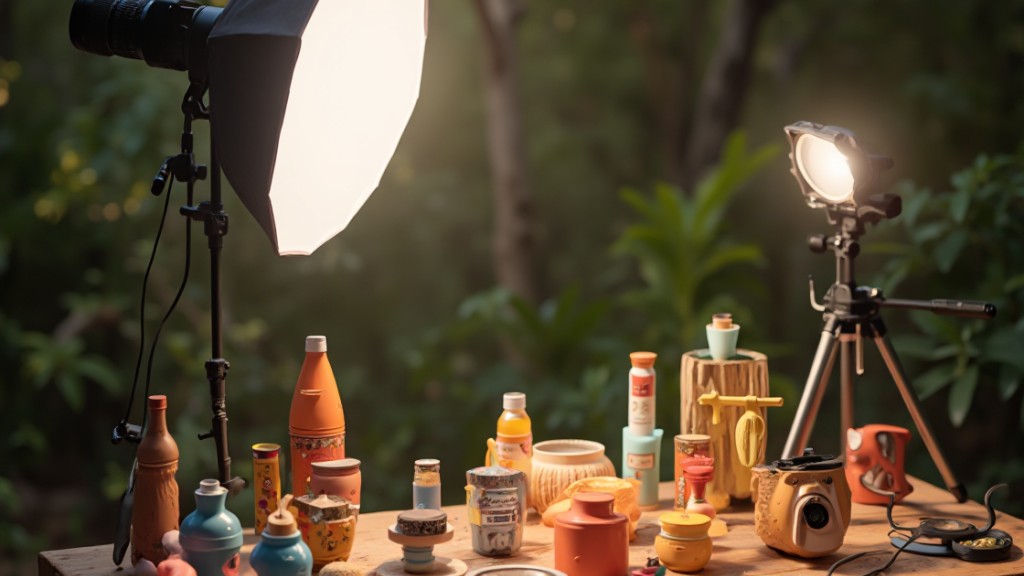
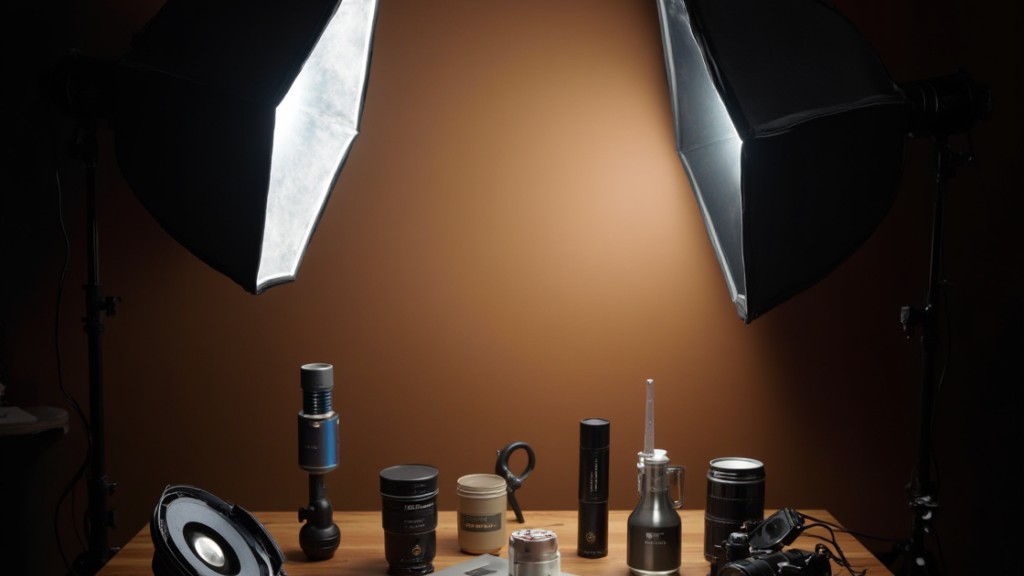
Creating the perfect product photography setup requires careful consideration of several key elements. You’ll need high-quality equipment, including a DSLR or mirrorless camera, and a sturdy tripod for stability. Ideal lighting is vital, so using softboxes or continuous LED lights can provide even illumination. Furthermore, a clean background minimizes distractions. Comprehending these components is fundamental, but the real challenge lies in honing the techniques that bring your products to life. Let’s explore those next.
Key Takeaways
- Invest in a high-quality DSLR or mirrorless camera with a versatile lens for capturing detailed product images.
- Use a sturdy tripod to ensure stability and prevent camera shake during shooting sessions.
- Select a clean, seamless white background to eliminate distractions and highlight your product effectively.
- Employ softboxes or LED lights for even illumination and control over shadows in your shots.
- Experiment with various angles and perspectives to showcase the product’s features and enhance visual appeal.
Understanding Product Photography
When you plunge into product photography, you’ll quickly realize that it’s not just about taking pretty pictures; it’s a strategic approach to showcasing products effectively. Grasping product photography is fundamental for enticing customers and boosting sales. High-quality images can increase conversion rates by up to 94%, making your product photography setup vital for online retail success.
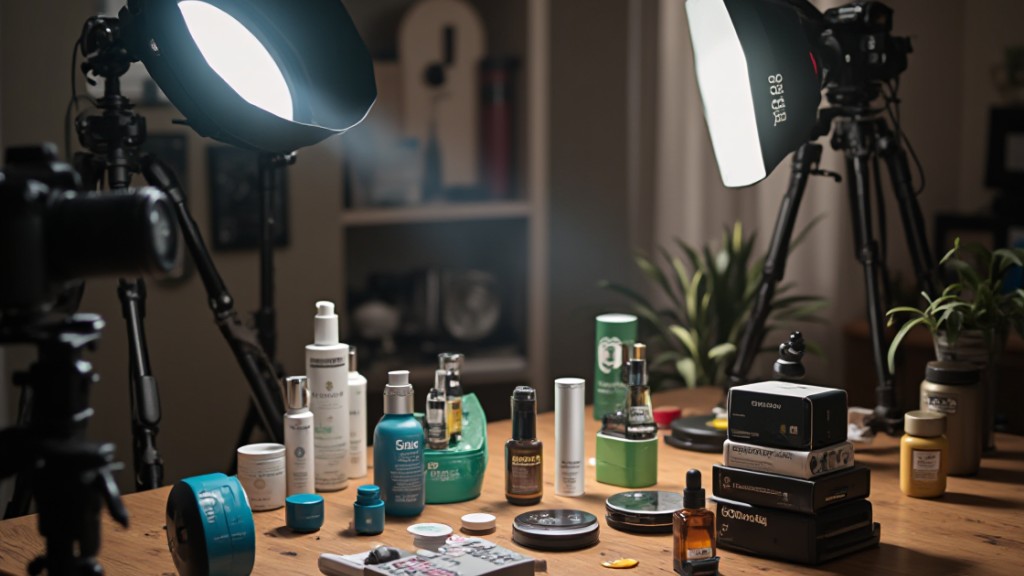
A successful product photography setup involves styling, controlled lighting, and careful retouching. These elements work together to create visually appealing images that capture shopper attention.
When you’re working on your DIY product photography setup, focus on key aspects like lighting and composition to guarantee potential buyers have a realistic grasp of the products. Consistently high-quality photography reinforces your brand identity and builds consumer trust in a competitive market.
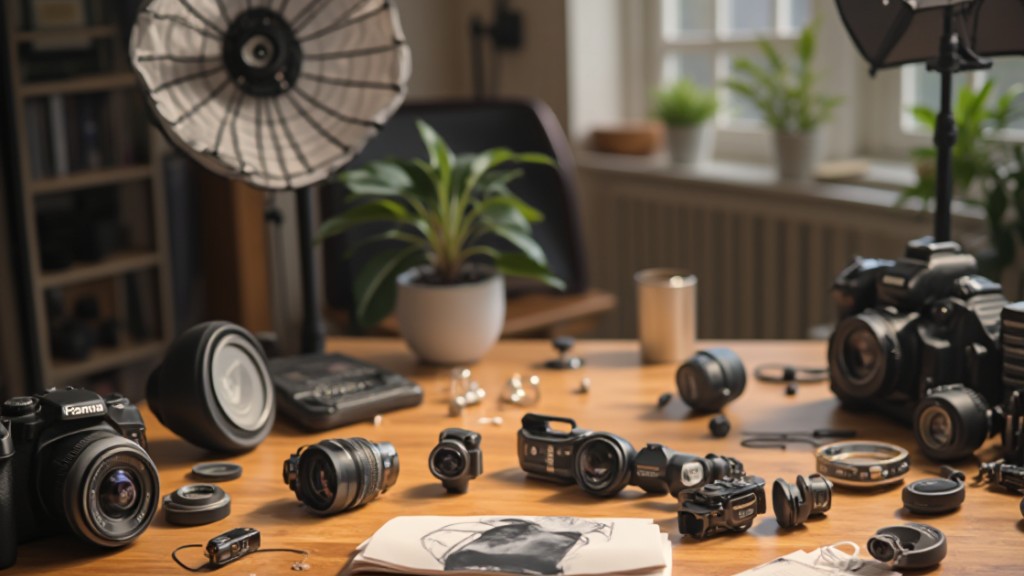
Essential Equipment for Your Setup
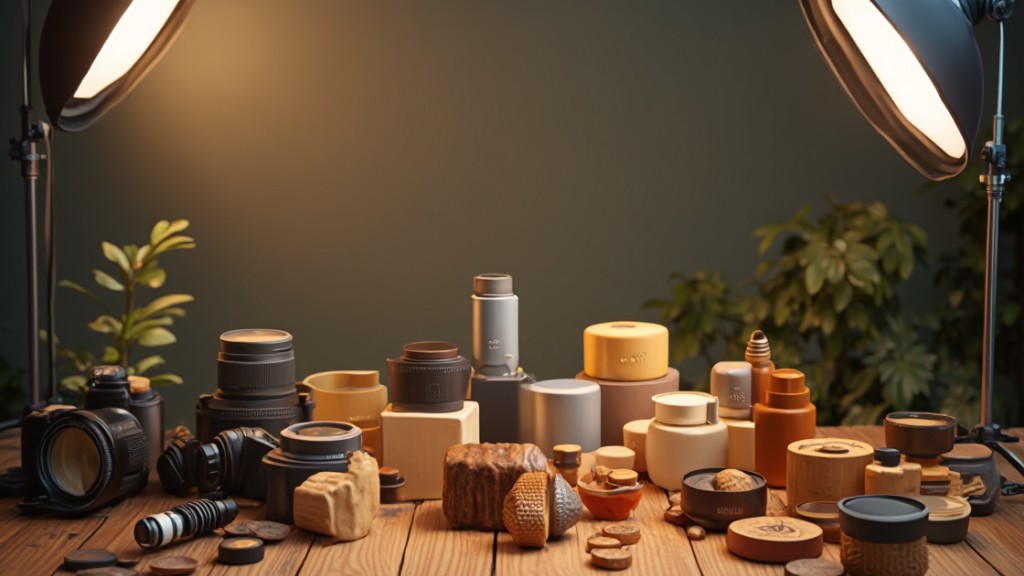
A successful product photography setup relies on several important pieces of equipment to guarantee high-quality images that effectively showcase your products.
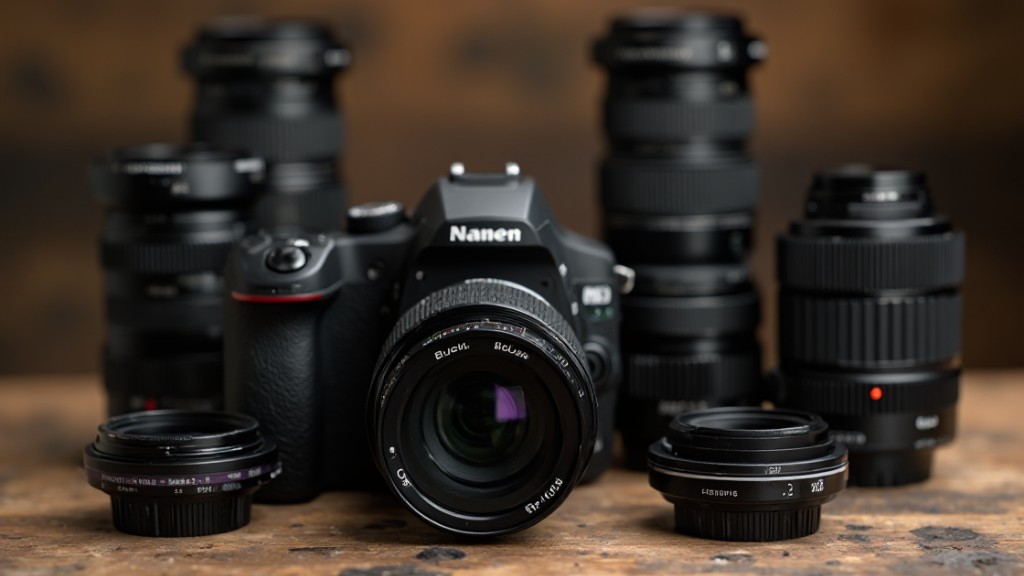
First, using a high-quality DSLR or mirrorless camera is recommended, as it offers manual settings and interchangeable lenses, improving both image quality and versatility. A sturdy tripod is necessary to prevent camera shake, ensuring consistent shots, especially with longer exposure times.
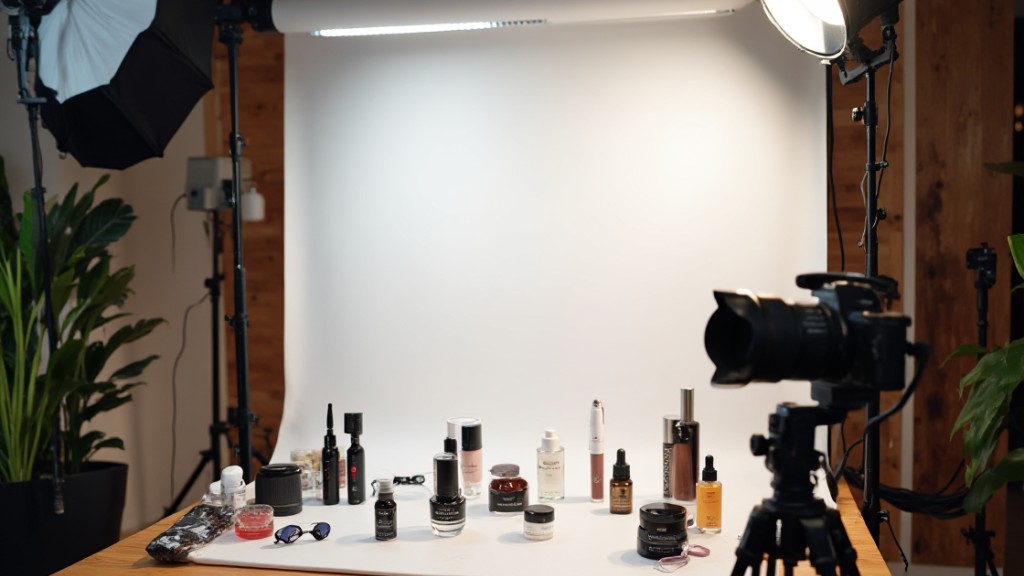
Next, a clean, seamless white background, whether it’s seamless paper or fabric, is critical for creating a professional look and minimizing distractions in your product images.
Lighting is another key factor; incorporating softboxes or continuous LED lights helps achieve even illumination and reduces harsh shadows, which is significant for showcasing product details.
Finally, reflectors and bounce cards can improve your lighting control by directing light onto the product, enhancing visibility and effectively highlighting its features.
Camera and Lens Selection
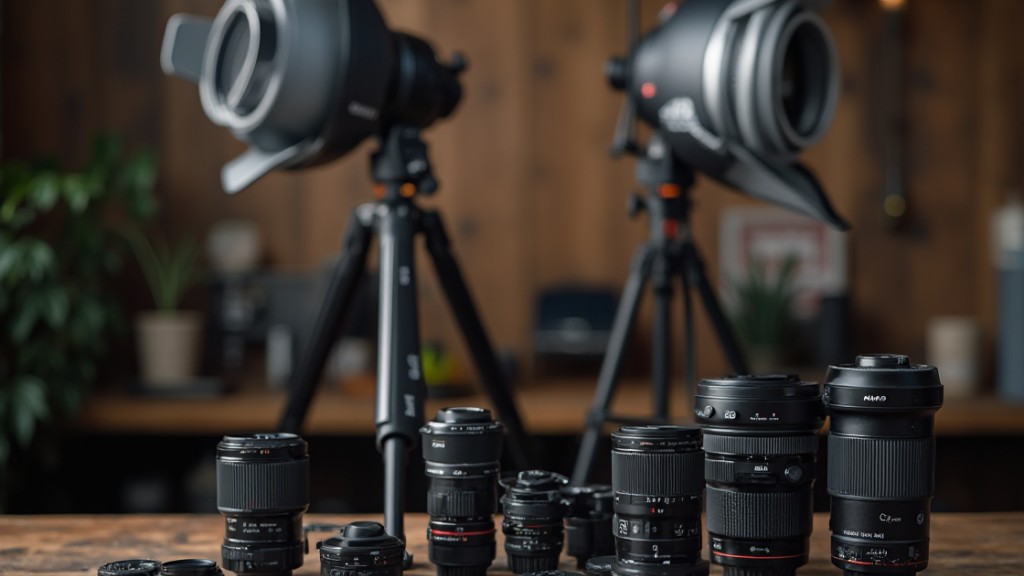
Selecting the right camera and lens is vital for achieving high-quality product photography that effectively highlights your items.
For most needs, an entry-level DSLR or mirrorless camera is sufficient, as they provide manual mode capabilities and interchangeable lenses. Consider using a 100mm or 60mm macro lens to capture fine details, or a versatile 24-70mm zoom lens for various shooting situations. A 50mm f/1.8 lens is also an excellent choice, as its focal length mimics the human eye, making it suitable for a range of product sizes while delivering a pleasing depth of field.
If you’re using a modern smartphone, you can still achieve impressive results in controlled environments.
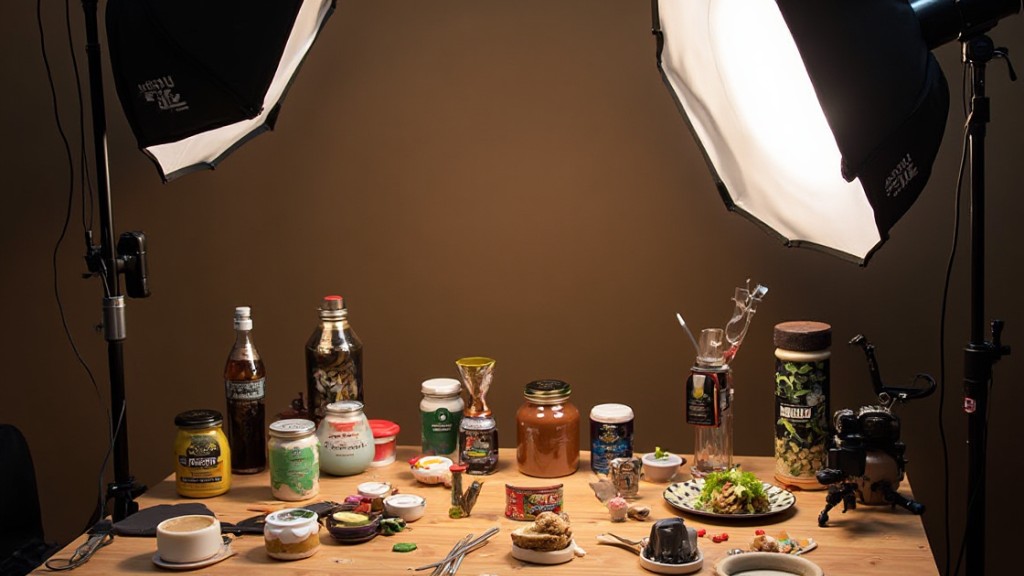
Optimal Lighting Conditions
In terms of ideal lighting conditions for product photography, leveraging natural light can create soft and even illumination, enhancing your product’s details.
Nevertheless, since natural light can be inconsistent, incorporating controlled artificial lighting techniques, like using softboxes or lightboxes, guarantees you achieve professional results.
Proper light positioning and the use of bounce cards can further refine your setup, minimizing shadows and reflections for a polished final image.
Natural Light Utilization
Natural light is an excellent choice for product photography, as it provides soft, even illumination that effectively showcases the details of your products.
The golden hour, shortly after sunrise or before sunset, delivers warm, diffused light, making it ideal for capturing visually appealing images. To guarantee your photos maintain detail without overexposure, use a light meter or histogram to assess exposure levels during shooting.
Position your products near windows for ideal natural light, but consider using sheer curtains to diffuse direct sunlight, avoiding glare and reflections.
Furthermore, employing reflectors can help bounce natural light onto your products, enhancing highlights and minimizing shadows. This approach results in a more balanced and professional appearance in your product photography.
Artificial Lighting Techniques
Though natural light can create stunning product images, artificial lighting techniques offer a reliable way to achieve consistent results, regardless of the time of day or weather conditions.
To optimize your setup, consider these vital techniques:
- Use softboxes or light tents to diffuse light, minimizing harsh shadows and providing even illumination across your product.
- Position multiple light sources at 45-degree angles to reduce reflections and add depth to the product’s appearance, enhancing visual interest.
- Incorporate white bounce cards in your lighting setup to reflect light back onto the product, improving visibility and reducing unwanted shadows.
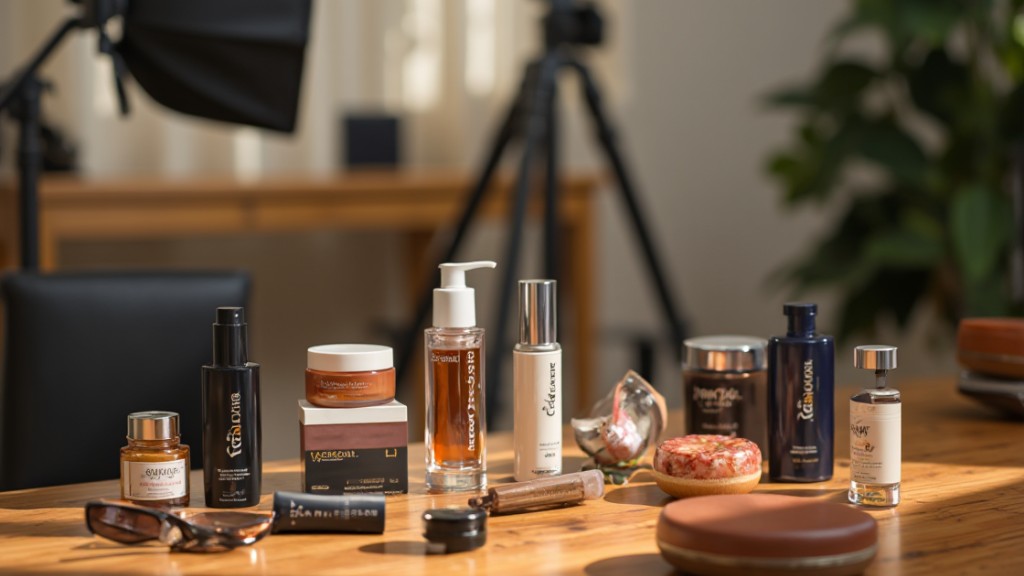
Backgrounds and Props
Selecting the right backgrounds and props is crucial for effective product photography. Clean, seamless backgrounds, like white paper or muslin, create a distraction-free environment that improves your product’s visibility, particularly in e-commerce photography.
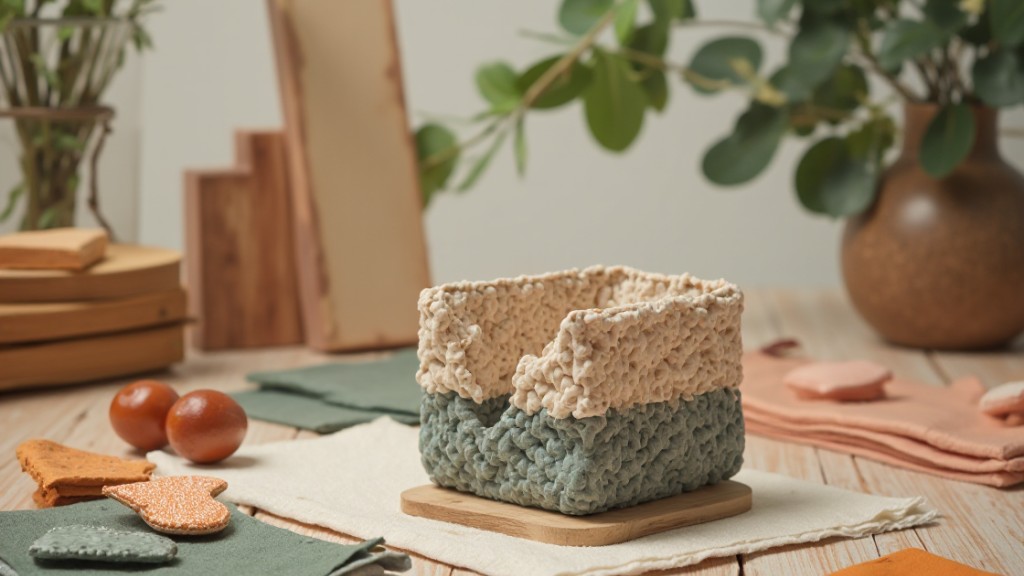
When incorporating props, use them to tell a story or provide scale, but choose wisely to guarantee they don’t overshadow the main item. Natural materials, such as wood or fabric, can add texture and enrich visual appeal, provided they complement your product’s colors and style.
A standard 6×6 foot space is typically sufficient for arranging backgrounds and props, offering flexibility in composition. Don’t forget to test various colors and textures to find the best match for your product; contrasting colors can make items pop, whereas harmonious tones can create a cohesive look.
Keeping these factors in mind will greatly improve the quality and effectiveness of your product photography setup.
Techniques for Capturing Professional Photos
To achieve professional-quality product photos, it’s essential to become proficient in several key techniques. Focus on stability, camera settings, and lighting to raise your work.
- Use a tripod: This eliminates camera shake, ensuring crisp, clear images, especially with slow shutter speeds.
- Adjust your camera settings: Set the ISO to 100 for minimal noise, choose an aperture between f/7.1 and f/16 for sharp focus, and modify shutter speed for ideal exposure based on your product.
- Control your lighting: Utilize natural light or softboxes to minimize harsh shadows, creating a well-lit, professional appearance.
Additionally, employ a seamless background to improve visibility and experiment with various angles—front, back, 45-degree, top shot, and macro—to effectively showcase your products.
Perfecting these techniques will greatly enhance the quality of your product photography and help convey your brand’s professionalism.
Post-Shooting Processes
Once you’ve captured your product images, it’s important to evaluate them for quality and identify any areas that need improvement. Select only the best shots for further processing.
Use retouching tools like Shopify Magic to clean backgrounds, improve brightness, and remove imperfections. This step guarantees your images look polished and professional.
Next, optimize your images for web use by resizing them according to HTML container dimensions, which boosts loading speed and overall site performance. Save your images in the appropriate format, such as JPEG in sRGB, to maintain color accuracy and compatibility across various platforms.
Finally, implement SEO strategies by using descriptive filenames and alt tags for your images. This will improve visibility in search engine results and attract more traffic to your site.
Expert Tips for Enhancing Your Photography
After guaranteeing your product images are polished and ready for display, improving your photography can take your visuals to the next level.
Implement these expert tips for better results:
- Experiment with Angles: Capture your product from at least six distinct perspectives, including front, back, 45-degree, top shot, and macro. This variety boosts visual appeal and provides thorough views.
- Use a Tripod: Assure stability by using a tripod to prevent camera shake. This is especially important when shooting with slow shutter speeds in low-light conditions, leading to sharper images.
- Refine Camera Settings: Switch to manual mode, setting ISO between 100 and 200 for clarity, and an aperture between f/7.1 and f/16 for ideal sharpness across your product.
Incorporating these techniques can greatly improve the quality of your product photography, guaranteeing your images stand out effectively.
Frequently Asked Questions
What Is the Best Time of Day for Natural Light Photography?
The best time for natural light photography is during the golden hour, which occurs shortly after sunrise and before sunset.
During these times, the sunlight is softer and warmer, reducing harsh shadows and creating flattering tones.
Midday light can be too harsh, leading to unflattering contrasts.
If you’re shooting outside of these hours, consider using reflectors to bounce light and soften shadows, enhancing the overall quality of your images.
How Do I Avoid Reflections on Shiny Products?
To avoid reflections on shiny products, you should use diffused lighting instead of direct sources.
Position your lights at an angle, and consider using a polarizing filter on your camera lens to minimize glare.
Furthermore, experiment with different backgrounds, as matte surfaces can reduce reflections.
You can likewise adjust the product’s angle to find the best position that diminishes unwanted highlights.
Finally, consider using a light tent for consistent, even lighting.
Can I Use My Smartphone for Product Photography?
Yes, you can use your smartphone for product photography. Modern smartphones have high-quality cameras that can capture detailed images.
To improve your results, utilize natural light, stabilize your phone with a tripod, and consider using editing apps for adjustments.
Pay attention to your background and guarantee it’s uncluttered, which helps the product stand out.
Experiment with different angles and settings to find what works best for your specific product.
How Should I Clean My Products Before Photographing?
To clean your products before photographing, start by dusting off any loose particles with a soft, lint-free cloth.
For surfaces, use a mild soap solution or specialized cleaner, applying it gently to avoid damage. If applicable, dry the items thoroughly to prevent water spots.
For electronics or delicate materials, consider using compressed air to remove debris.
Make certain everything’s dry and smudge-free, as clear, clean products will greatly improve your final images.
What Editing Software Is Best for Product Photography?
When choosing editing software for product photography, consider options like Adobe Photoshop and Adobe Lightroom, which offer extensive tools for enhancing images.
Lightroom excels in organizing and batch editing, whereas Photoshop provides advanced retouching capabilities.
Capture One is another excellent choice for high-end editing with precise color control.
For those seeking free alternatives, GIMP and Photopea can suffice, though they may lack some advanced features.
In the end, select software that aligns with your editing needs and skill level.
Conclusion
In conclusion, creating the perfect product photography setup requires a solid comprehension of fundamental equipment, lighting, and backgrounds. By selecting the right camera and lens, utilizing ideal lighting conditions, and incorporating appropriate props, you can improve your images considerably. Don’t forget the importance of post-shooting processes, as they can raise the final product. By following these guidelines, you’ll be well on your way to producing professional-quality photographs that effectively represent your brand and attract potential customers.
Image via Google Gemini