
Excelling in product photography is vital for anyone aiming to improve their brand’s image and drive sales. By concentrating on key elements like lighting, composition, and background selection, you can create images that not solely showcase your products but additionally build trust with potential buyers. Comprehending techniques such as the Rule of Thirds and managing the exposure triangle will greatly impact your results. To raise your photography further, consider the role of post-production editing, which can refine your images for a more professional finish.
Key Takeaways
- Utilize soft, diffused lighting to enhance product details and eliminate harsh shadows for a polished appearance.
- Maintain clean, solid backgrounds to keep focus on the product and avoid visual distractions.
- Apply the Rule of Thirds to create balanced and visually interesting compositions that draw attention.
- Master the exposure triangle by adjusting aperture, ISO, and shutter speed for optimal image quality and clarity.
- Edit images in post-production to enhance consistency, colors, and sharpness, reinforcing brand identity.
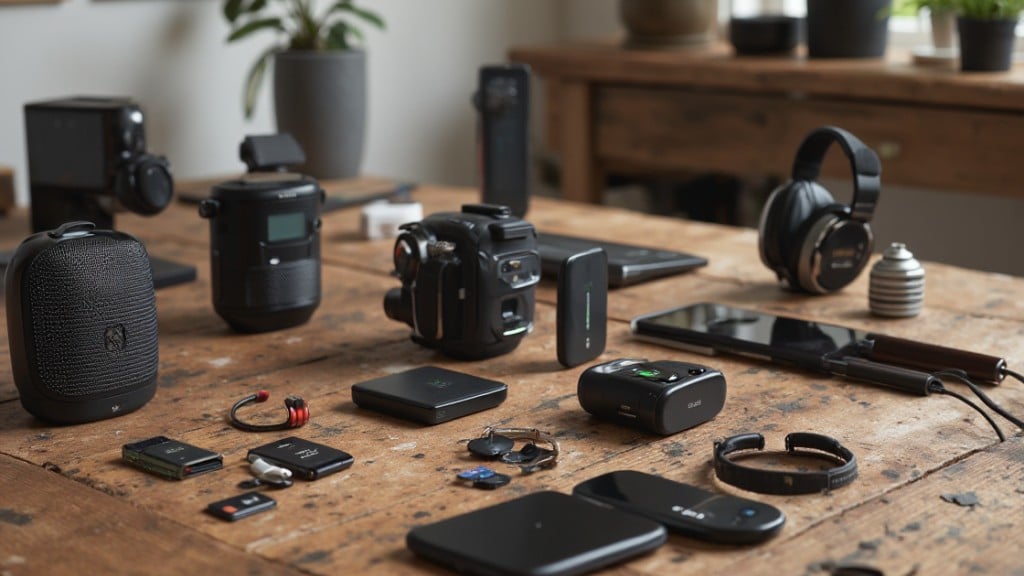
The Clear Link Between Photos, Trust, and Sales
![]()
In the domain of e-commerce, the connection between high-quality product photography, customer trust, and sales is undeniable. When you use product photos with an iPhone, it’s vital to guarantee they look professional to cultivate trust.
High-quality images can increase conversion rates by up to 33%, directly impacting your sales and revenue. Clean, bright, and sharp product photos accurately represent details and textures, reducing the likelihood of returns. This professionalism boosts perceived product value, enhancing your brand credibility.
Furthermore, maintaining a consistent photography style across your products strengthens brand identity, making it easier for customers to recognize and trust your brand. Investing in quality product photography is fundamental; low-quality images can signal unprofessionalism, deterring potential buyers.
Core Pillars of Professional Product Photography
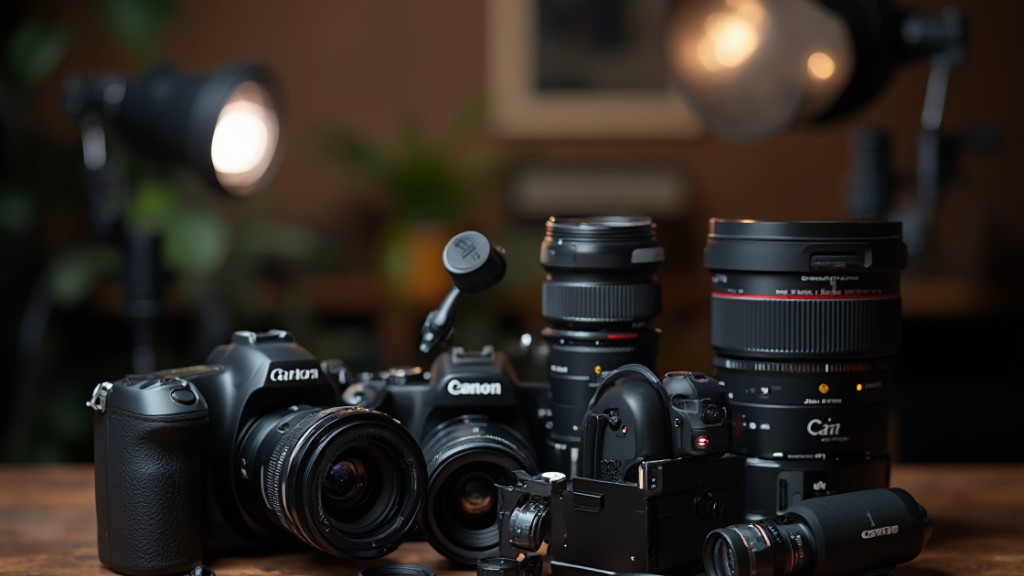
In the realm of professional product photography, excelling in core pillars like effective lighting and thoughtful composition is crucial.
You need to understand how to use soft, diffused light to highlight your product’s true colors whilst eliminating harsh shadows.
Furthermore, a clean background and well-planned composition not only attract attention to your product but likewise improve the overall visual appeal, making your images more compelling to potential customers.
Lighting Techniques Importance
Effective lighting techniques are crucial in product photography, as they greatly impact the overall quality and appeal of your images. Here are some key points to take into account:
- Soft, diffused lighting highlights details and eliminates harsh shadows, enhancing perceived product quality.
- Natural light is a cost-effective choice, but using artificial lights with diffusers provides better control over conditions and consistency.
- Consistent lighting throughout a shoot guarantees accurate color representation and uniformity across images, boosting professionalism.
- Avoid mixed lighting sources and use a single type of light, preferably with a color temperature of 5000K to 6500K, for ideal results.
Composition and Background Essentials
Dominating composition and background elements is essential for creating compelling product photographs that effectively showcase your items.
Applying the Rule of Thirds improves visual interest by strategically placing your products within the frame, leading to dynamic images that capture attention.
Use clean, uncluttered backgrounds, like solid colors or seamless infinity backdrops, to maintain focus on your product, all the while ensuring brand consistency.
A tripod stabilizes your camera, allowing for sharper images and consistent framing across multiple shots.
Incorporate props or lifestyle elements in the background to provide context and improve storytelling.
Experiment with different angles, such as overhead or eye-level shots, to create intriguing compositions that effectively showcase your product’s unique features.
Getting Your Lighting and Background Right
Achieving the right lighting and background is crucial for successful product photography, as it directly impacts the quality and appeal of your images.
Here are some key points to reflect on:
- Use soft, diffused lighting to highlight details and eliminate harsh shadows, enhancing your images’ overall quality.
- Opt for clean, solid color backgrounds like white or light gray to maintain focus on the product and guarantee brand consistency without distractions.
- Incorporate bounce materials, such as foam core, to soften harsh lighting and fill in shadows, creating a polished look.
- Experiment with different diffusion materials, like baking paper, to greatly improve lighting quality, resulting in smoother and more even shadows.
Natural vs. Artificial Light

In terms of product photography, choosing between natural and artificial light can greatly impact your results.
Natural light often brings a soft touch that flatters products, especially on cloudy days, whereas artificial light gives you control over consistency and shooting conditions.
Benefits of Natural Light
Natural light offers significant advantages for product photography, especially compared to artificial lighting options.
Here are some key benefits you should consider:
- Soft Illumination: On cloudy days, natural light provides a diffused glow, reducing harsh shadows and enhancing product details.
- Accurate Color Representation: Unlike artificial light, natural light maintains true colors, building customer trust and lowering return rates.
- Golden Hour: The warm light shortly after sunrise or before sunset can enhance the aesthetic appeal of your product photos.
- Simplicity: Using natural light eliminates the need for complex setups, making photography accessible for beginners and those on a budget.
Advantages of Artificial Light
Even though natural light has its merits, artificial light brings a range of advantages that can elevate your product photography experience.
With artificial lighting, you gain consistent and controllable illumination, avoiding the unpredictability of changing daylight. Using sources like Elinchrom softboxes or LED Lenser panels allows you to create soft, diffused lighting, which reduces harsh shadows and highlights, resulting in more flattering images.
You can additionally adjust the intensity and color temperature of artificial lights, ensuring accurate color representation across multiple shots.
Furthermore, artificial lighting setups work in any environment, eliminating reliance on weather or time of day. This uniform light source improves detail and texture visibility, in the end boosting buyer confidence and conversion rates in your e-commerce photography.
Lighting Techniques Comparison
Product photography relies heavily on the quality of light, and comprehending the differences between natural and artificial light can greatly impact your results. Here’s a comparison to help you decide:
- Natural Light: Cost-effective, soft quality, best on cloudy days.
- Positioning: Place products near windows, avoiding direct sunlight to prevent harsh shadows.
- Artificial Light: Offers consistent control, allowing precise manipulation of shadows and highlights.
- Mixing Caution: Avoid combining both types, as this can create inconsistent color temperatures.
While natural light provides a beautiful effect, artificial lighting like softboxes can mimic its qualities, producing even illumination.
Choosing the right lighting technique is essential for showcasing your products effectively, so assess your shooting conditions before deciding.
Choosing the Perfect Background
When selecting a background for your product photography, how do you guarantee it complements and elevates your subject? A clean, solid color background, like white or light gray, keeps the focus on the product as it improves overall image quality. Consider using seamless backdrops, such as pliable sheets of paper, to create an infinity wall effect that eliminates harsh edges.
Here’s a quick guide to background choices:
| Background Type | Benefits |
|---|---|
| Solid Color | Maintains focus and eliminates distractions |
| Seamless Backdrop | Creates a professional look with extended space |
| Consistent Choices | Strengthens brand identity across product images |
| Reflective Surfaces | Highlights product details as it ensures cleanliness |
Avoid cluttered or patterned backgrounds that distract from the product. This approach raises perceived value and professionalism, vital for e-commerce success.
Essential Camera and Composition Techniques
How can you improve your product photography through effective camera and composition techniques? Mastering these elements is essential for achieving professional results. Here are some key techniques to take into account:
- Manual Settings: Moving away from Auto settings gives you greater control over exposure, resulting in sharper images.
- Use a Tripod: A tripod stabilizes your camera, minimizing shake and ensuring crystal-clear photos, especially at slower shutter speeds.
- Apply the Rule of Thirds: This composition technique boosts visual interest by guiding the viewer’s attention, creating a balanced image.
- Clean Backgrounds: Opt for simple backgrounds like white or light gray to keep the focus on your product, eliminating distracting elements.
Getting a Handle on the Exposure Triangle

Comprehending the exposure triangle is crucial for achieving ideal results in your product photography. This triangle consists of three key elements: aperture, ISO, and shutter speed, which together determine an image’s exposure and brightness.
Aperture, measured in f-stops, controls the light entering the camera; a lower f-stop like f/2.8 creates a blurrier background, whereas a higher f-stop such as f/11 offers sharper focus throughout the image.
ISO sensitivity adjusts your camera’s responsiveness to light, with a lower ISO (e.g., 100) providing cleaner images and a higher ISO (e.g., 800) introducing potential graininess in low-light situations.
Shutter speed defines how long the sensor is exposed to light, where faster speeds (e.g., 1/500) freeze motion, and slower speeds (e.g., 1/30) can introduce desired motion blur.
A common starting point for product photography is ISO 100, an aperture of f/11, adjusting shutter speed for balanced exposure and detail.
Polishing Your Images in Post-Production

To achieve polished and professional product images, it’s essential to focus on post-production editing, where you can improve the visual quality of your photos. Here are key steps to enhance your images:
- Crop or Straighten: Remove distractions and verify your product is centered.
- Adjust Exposure and Contrast: Balance light and shadow to highlight your product’s features.
- Fine-Tune Colors: Achieve consistency in color to match your brand aesthetic.
- Apply Final Sharpening: Improve details without overdoing it to maintain a natural look.
Using tools like Adobe Lightroom can streamline your editing process, allowing for batch processing, which helps maintain uniformity across multiple images.
Remember to retouch naturally, correcting small flaws while preserving the product’s true appearance.
Finally, export your images in appropriate formats, like JPEG or PNG for online use, and TIFF for printed materials, guaranteeing peak quality and consistency across platforms.
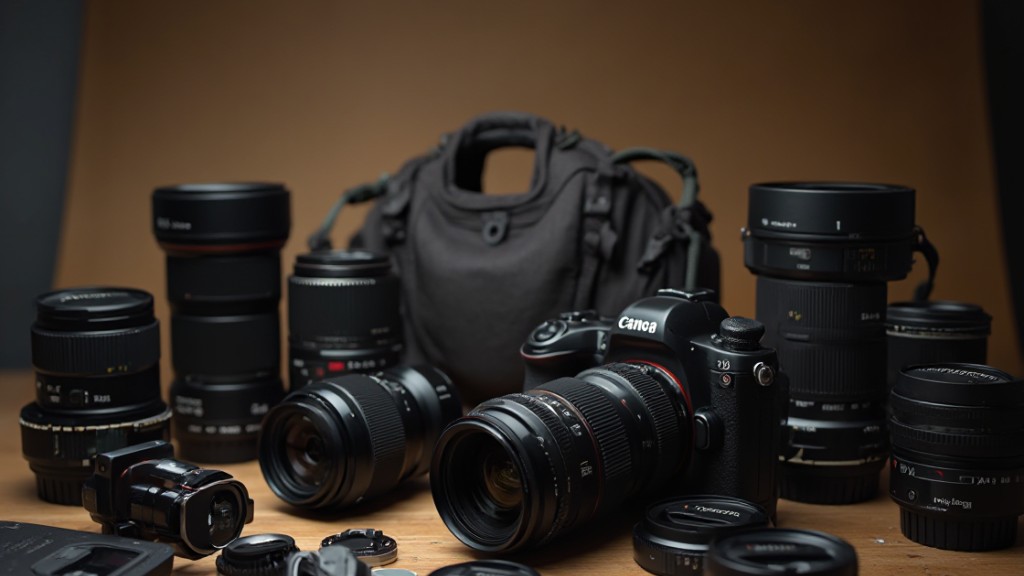
Building a Strategic Product Shot List
Creating a strategic product shot list is crucial for showcasing your products effectively, as it guides your photography sessions and guarantees you capture all necessary angles and details. Aim for 5-8 photos per product, including hero shots, detailed close-ups, in-context or lifestyle shots, and group shots. Tailor your list to specific platforms to meet their distinct image requirements. Consistency in style across your shot list reinforces brand identity, enhancing recognition and trust.
Here’s a sample shot list to help you visualize your approach:
| Shot Type | Description | Purpose |
|---|---|---|
| Hero Shot | Main product image | Attracts attention |
| Close-Up | Detailed view of features | Answers customer questions |
| Lifestyle Shot | Product in use | Shows practical application |
| Group Shot | Multiple products together | Highlights variety |
Using the Rule of Thirds will further secure your images are balanced and engaging.
Frequently Asked Questions

How to Make Your Product Photos Look Professional?
To make your product photos look professional, start by using soft, diffused lighting to minimize harsh shadows and improve colors.
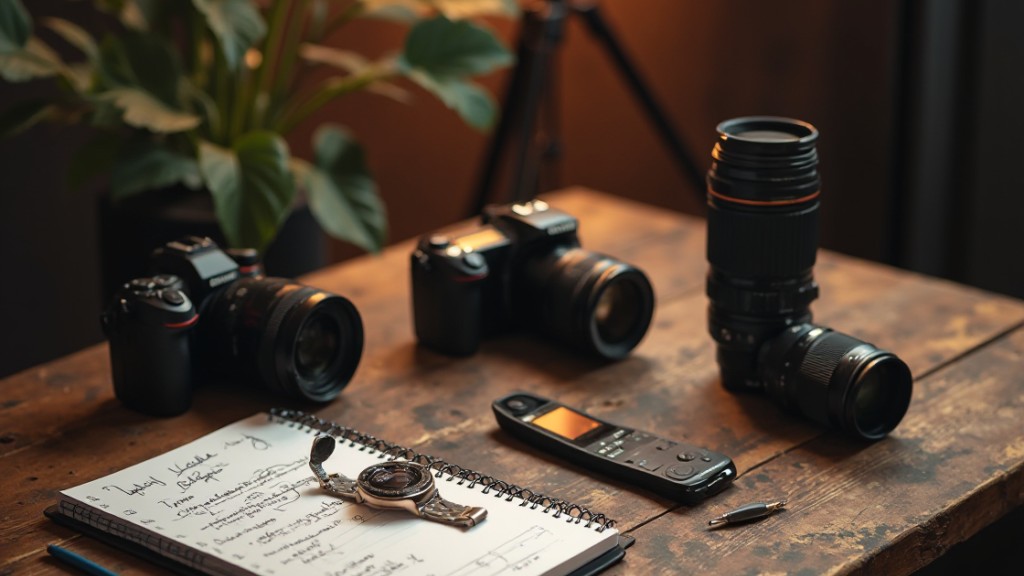
Invest in a quality camera and macro lens, and use a tripod for stability.
Maintain a clean background to highlight your product.
Capture multiple angles, including close-ups and lifestyle shots, to tell a visual story.
Finally, edit your images using software like Adobe Lightroom to guarantee consistency and boost overall quality.
What Is the 20 60 20 Rule in Photography?
The 20 60 20 rule in photography suggests you allocate your images into three categories: 20% should be exceptional, high-quality shots, 60% solid, good-quality images, and the remaining 20% casual or experimental photos.
This approach helps you prioritize standout images that boost engagement while maintaining a balanced portfolio. By following this structure, you streamline your editing process and guarantee your visual content remains professional, creative, and effective in representing your work.
How to Make a Photo Look Like a Professional Photo?
To make a photo look professional, focus on lighting first; use soft, diffused light to minimize harsh shadows.
Choose a clean background, like white or light gray, to keep attention on the subject. Stabilize your camera with a tripod for sharp images, and master the exposure triangle—aperture, ISO, and shutter speed—to control light effectively.
Finally, edit consistently in post-production, adjusting brightness, contrast, and sharpness to guarantee a cohesive look.
How to Master Product Photography?
To master product photography, start by investing in a quality DSLR or mirrorless camera and use macro or prime lenses for detail.
Prioritize soft lighting to reduce shadows and guarantee accurate colors. A clean, neutral background keeps the focus on your product.
Establish a structured workflow for shooting and post-processing, utilizing checklists for efficiency.
Finally, improve your images in editing software to achieve sharpness and color accuracy, ensuring a consistent look across your portfolio.
Conclusion

Acquiring proficiency in product photography requires a blend of effective lighting, thoughtful composition, and post-production refinement. By comprehending the relationship between high-quality images and consumer trust, you can greatly improve your brand’s credibility. Focus on using natural or artificial light effectively, selecting appropriate backgrounds, and applying crucial camera techniques. Finally, polish your images during editing to guarantee they align with your brand’s aesthetics. By implementing these strategies, you’ll create professional-looking photos that attract and convert potential buyers.
Image via Google Gemini